
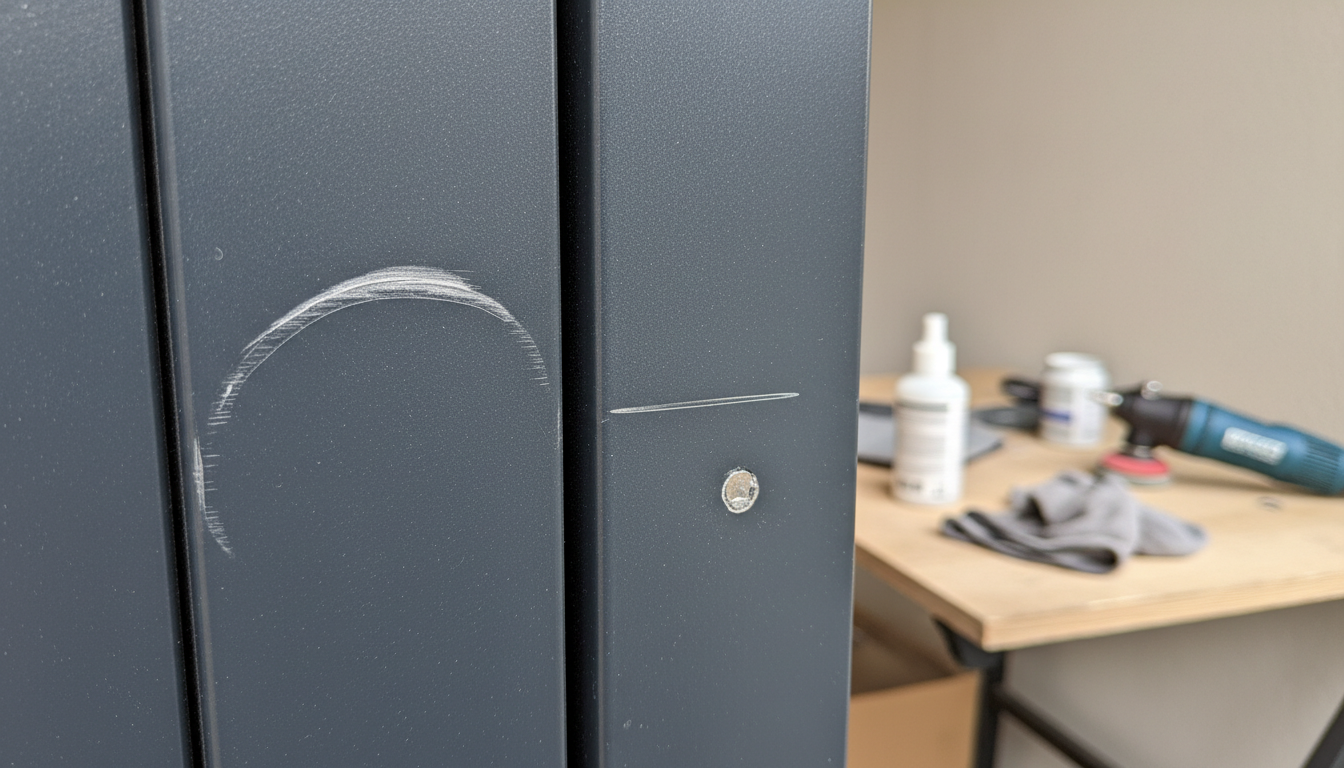
A poorly parked bicycle, a rubbing handle, a stone thrown by the lawnmower… Scratches on a powder-coated gate appear more quickly than one might think. In most cases, they can be reduced, or even made to disappear completely. Everything depends on the depth of the damage and the method employed. Here’s how to proceed to repair it properly, without having to repaint the entire surface.
What Powder Coating Really Is (and Why It Scratches)
Powder coating is an industrial finishing process: a resin powder is sprayed onto aluminum or steel, then baked in an oven at approximately 200 °C. This creates a hard paint layer, resistant to UV, corrosion, and weathering. It is much more robust than traditional spray paint.
However, “resistant” does not mean “indestructible.” An impact, repeated rubbing, or an abrasive object can damage this protective layer. And once a scratch appears, it is all the more noticeable because powder-coated gates often have very uniform matte or satin finishes, making the slightest imperfection stand out.
Assess the Scratch Depth Before Acting
Before getting your tools out, take thirty seconds to run your fingernail over the scratch. This is the simplest and most reliable test:
- Your fingernail does not catch: the scratch is superficial; it only affects the surface of the lacquer layer. Simple polishing will suffice.
- Your fingernail catches slightly: the scratch has penetrated part of the powder coating’s thickness. It will require touch-up with a pen or a pot of touch-up paint.
If the scratch exposes the bare metal underneath (gray or silver color), you must act quickly: moisture can cause corrosion, especially on steel.
Removing a Superficial Scratch by Polishing
For micro-scratches and light scuffs, polishing yields excellent results. First, clean the area with lukewarm water and a little dish soap, then dry with a soft cloth. Next, apply a small amount of automotive body polish (not a coarse abrasive) to a microfiber cloth. Rub in circular motions, without applying excessive pressure. The heat generated by the friction redistributes the material and fills the micro-scratch.
Wipe off any excess with a clean cloth and observe the result. Often, a single pass is enough. If the scratch persists, repeat two or three times. Beyond that, there’s no need to continue: it’s too deep for this method.
Touching Up a Deeper Scratch with the Right Paint
When polishing is not enough, you need to fill the scratch with paint. The main difficulty is finding the exact shade. Gate manufacturers use standardized RAL references (RAL 7016 anthracite grey, RAL 9005 black, RAL 9010 pure white, etc.). Check your gate’s documentation or contact your retailer to find the precise reference.
Obtain a touch-up pen or a small pot of paint in the corresponding RAL shade, available at DIY superstores or specialized distributors. Apply in thin layers with a very fine brush, only on the scratch. Allow 24 hours to dry between each coat. Two to three coats are generally necessary for a uniform finish.
Mistakes to Absolutely Avoid
The temptation to use whatever is at hand is strong. However, certain reflexes can worsen the problem. Sandpaper, even very fine, should be avoided on powder coating: it creates a matte halo around the scratch, which is much more visible than the initial defect. The same applies to abrasive sponges like Scotch-Brite, which leave rubbing marks across the entire surface.
Also, avoid aggressive chemical products (acetone, white spirit, paint stripper) that attack the healthy lacquer layer around the scratch. Stick to mild products: soapy water for cleaning, automotive polish for buffing, and appropriate RAL paint for touch-ups.
Protecting Your Gate to Prevent Future Scratches
Once the repair is done, it’s wise to take a few precautions. If your gate is motorized, ensure that the stop limits are correctly adjusted; a leaf hitting at the end of its travel guarantees a scratch with every opening. Also, remember to move objects stored nearby: garden tools, wheelbarrows, bins. These are the primary culprits for everyday scuffs.
Regular cleaning with soapy water (two to three times a year) helps remove abrasive dust that settles on the surface. These particles, under the effect of wind or simple dry wiping, scratch the lacquer as surely as fine sandpaper. A clean gate is a gate that ages better.
When to Consider a Complete Repowder Coating?
If your gate has numerous deep scratches, paint chips, or rust spots, localized touch-ups will no longer yield a satisfactory result. A workshop repowder coating then remains the best option. The gate is dismantled, stripped by sandblasting, then repowder-coated in the color of your choice. Expect to pay between €300 and €600 depending on the size, but the result is identical to new.
And if your gate is truly at the end of its life, it might be an opportunity to replace it. At Districlos, you will find a range of powder-coated aluminum gates, available in stock for in-store pickup or fast delivery. Our customer service can also help you choose the model suited to your project.

Expert in fencing, gates, and outdoor landscaping since 2019.
Holds a Master’s degree in Digital Marketing – SEO, UX/UI.
View LinkedIn profile


