
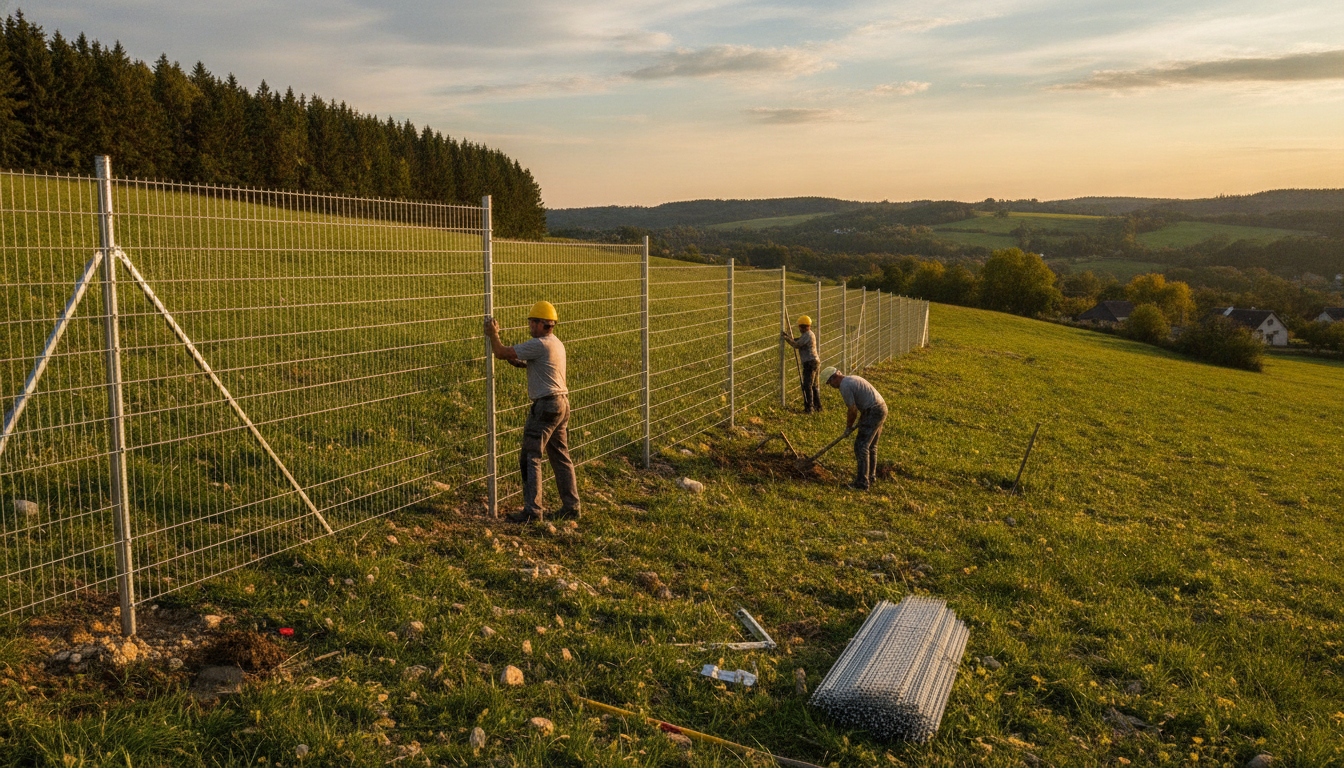
Installing fencing on flat ground does not present any particular difficulty. However, as soon as the ground is sloped, installation becomes more complex. If your land has a significant change in level, you will have to choose between two methods: stepped installation (also called stepped sections) and slope-following. This choice determines not only the visual appearance of your fence, but also its long-term strength.
Stepped installation: the recommended option for rigid panels
To install rigid panels on a steep slope, stepped installation remains the best solution. This technique involves installing each panel perfectly level, creating a vertical offset (a step) at each post to compensate for the slope. It is the only way to respect the rigid structure of welded steel without deforming it.
In addition to providing a clean, structured finish, this method preserves the fence’s wind resistance and avoids mechanical stress on the fixings. The main challenge is keeping the step heights consistent to maintain a harmonious alignment.
Why slope-following does not work with rigid panels
Slope-following involves installing the mesh parallel to the ground, following its contour. While this method works very well for flexible roll mesh, it is almost impossible to achieve with rigid panels. Welded mesh offers no lateral flexibility: forcing a rigid panel to tilt can bend the posts, damage the fixings, and weaken the entire structure.
Visually, the result is rarely satisfactory. The panel’s vertical uprights are no longer plumb, which gives the impression of a wobbly structure. On a steep slope, it is therefore best to rule out this option.
How to achieve a successful stepped installation
This type of installation requires precision, especially when choosing the posts. As the panels step down, the posts at the offsets must be longer than for a standard installation. They must be anchored deep into the ground while extending high enough to support both the upper panel and the lower panel.
A few key points to watch on site:
- Calculate the difference in level between each post precisely to determine the height of each offset.
- Plan for longer posts (generally an extra 30 to 50 cm) to compensate for the offsets.
- Do not skimp on the concrete used to set the posts, as the slope increases wind load and stress on the structure.
Essential equipment
For this type of project, it is best to choose notched posts. They allow you to adjust the height precisely and fix the panels without having to handle complex accessories.
Using concrete gravel boards is also very useful on sloping ground. They help retain the soil, prevent ground from slipping under the fence, and close the gaps that naturally form beneath the panels due to the stepped effect.
A project to validate with specialists
Calculating post heights on a slope can quickly become complex. To avoid ordering mistakes, do not hesitate to ask for advice. The Districlos teams, fencing specialists, can help you configure your project. You can find all the necessary equipment in our stores or on our online shop to prepare your project without any unpleasant surprises.

Experte clôture, portail et aménagement extérieur depuis 2019.
Diplômée en Master de Marketing digital – SEO, UX/UI
Voir le profil sur LinkedIn


