
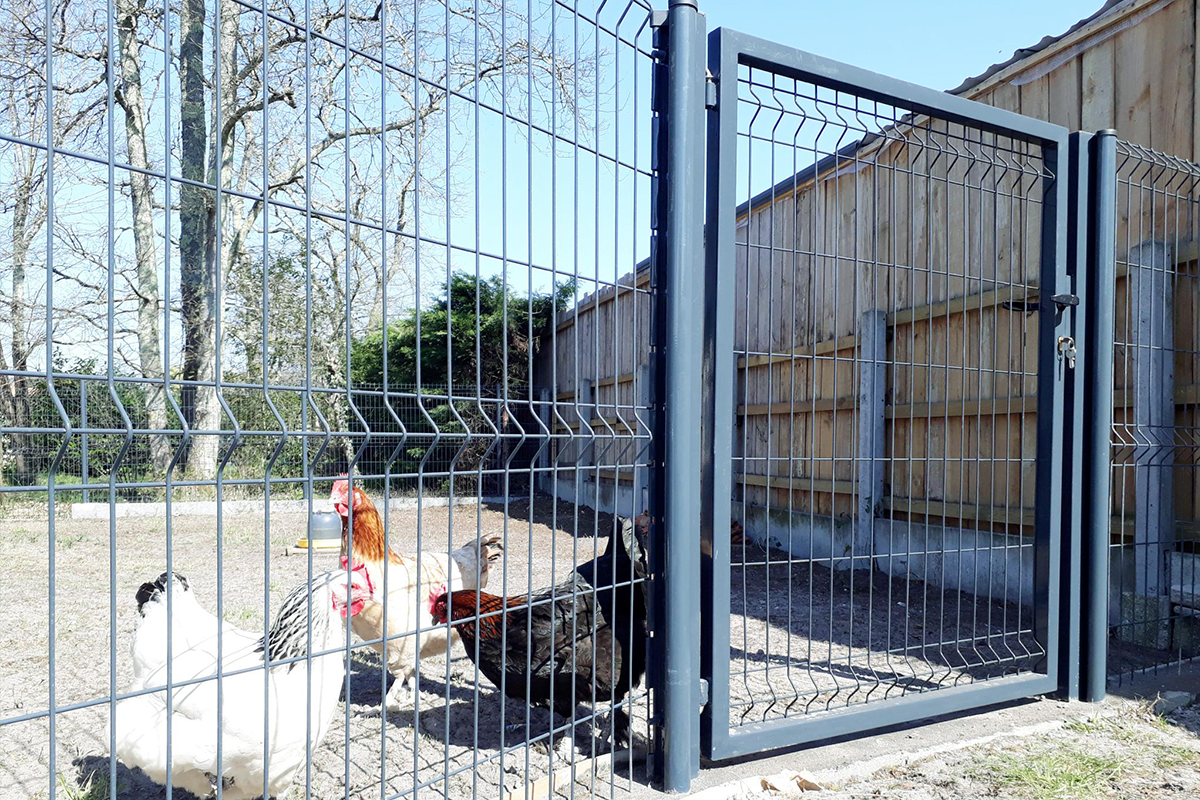
A gate is a key element for the security of and access to your property. To ensure it remains functional and lasts over time, it must rest on pillars that are solidly anchored in the ground. Proper sealing (setting in concrete) is therefore essential. Here are the steps to follow to guarantee the stability of your installation.
Different types of gate pillars
Gate pillars come in several materials: concrete, aluminium, wood, reconstituted stone, etc. This allows you to match them to the style of your gate and your home. Their primary role is to anchor the gate to the ground. Regardless of the material chosen, the sealing technique must guarantee a safe and durable result, whether the gate is motorised or not. For a compliant installation, check the urban planning rules by consulting your local urban planning scheme (PLU) or the Civil Code.
Choosing the right location for the gate pillar
Before starting, mark the exact location of the pillars. Remember to allow the necessary space for hinges, fixings, and finishing. Leave sufficient clearance between the leaves, especially for a wooden gate. This material expands and contracts with temperature variations, which can cause movement. The dimensions of the pillars depend on the weight and size of your gate. For example, for a light PVC or aluminium gate, 20×20 cm posts are sufficient.
Gate pillar foundations
Dig the foundations to a depth of approximately 60 cm for each pillar. This depth, known as the “frost-free” level, protects the structure from ground movement. Then, place horizontal reinforcement bars in the trench connecting the two pillars. Each pillar foundation must be reinforced with 4 twisted steel bars arranged in a square. If you plan to install a motor, now is the time to install the electrical conduits.
Assembly and filling of the gate pillar
Assembly varies depending on the type of pillars. Generally, the steps are as follows: Start by pouring concrete into the foundations and the trench. Once the concrete has set, prepare a mortar base at the location of each pillar. Stack the pillar elements (hollow blocks) over the metal reinforcement. Then fill the inside of the elements with concrete, layer by layer, allowing it to dry between each stage.
Once the structure is completely dry, you can install the pillar cap. Then come the finishing touches: apply a coating or cladding, then install the hinges and any intercom system.
If you are an experienced DIYer, you can carry out these works yourself with care and method. Otherwise, calling in a professional will guarantee a high-quality result.
Your gate posts at the best price
Have you already chosen your new gate model and just need the posts? You’re in luck! Clôture Discount has 16 stores located throughout France. And if you wish to have them delivered to your site, we ship your order as soon as possible so that you receive your new equipment quickly.
With the Fair Price guarantee, Districlos positions itself as the most affordable supplier of garden equipment (fencing, rigid mesh panels, gates, pedestrian gates, privacy screens, posts…) on the web! If you have any doubts, our team is at your disposal to answer all your questions. Yes, all of them!

Expert in fencing, gates, and outdoor landscaping since 2019.
Holds a Master’s degree in Digital Marketing – SEO, UX/UI.
View LinkedIn profile


