
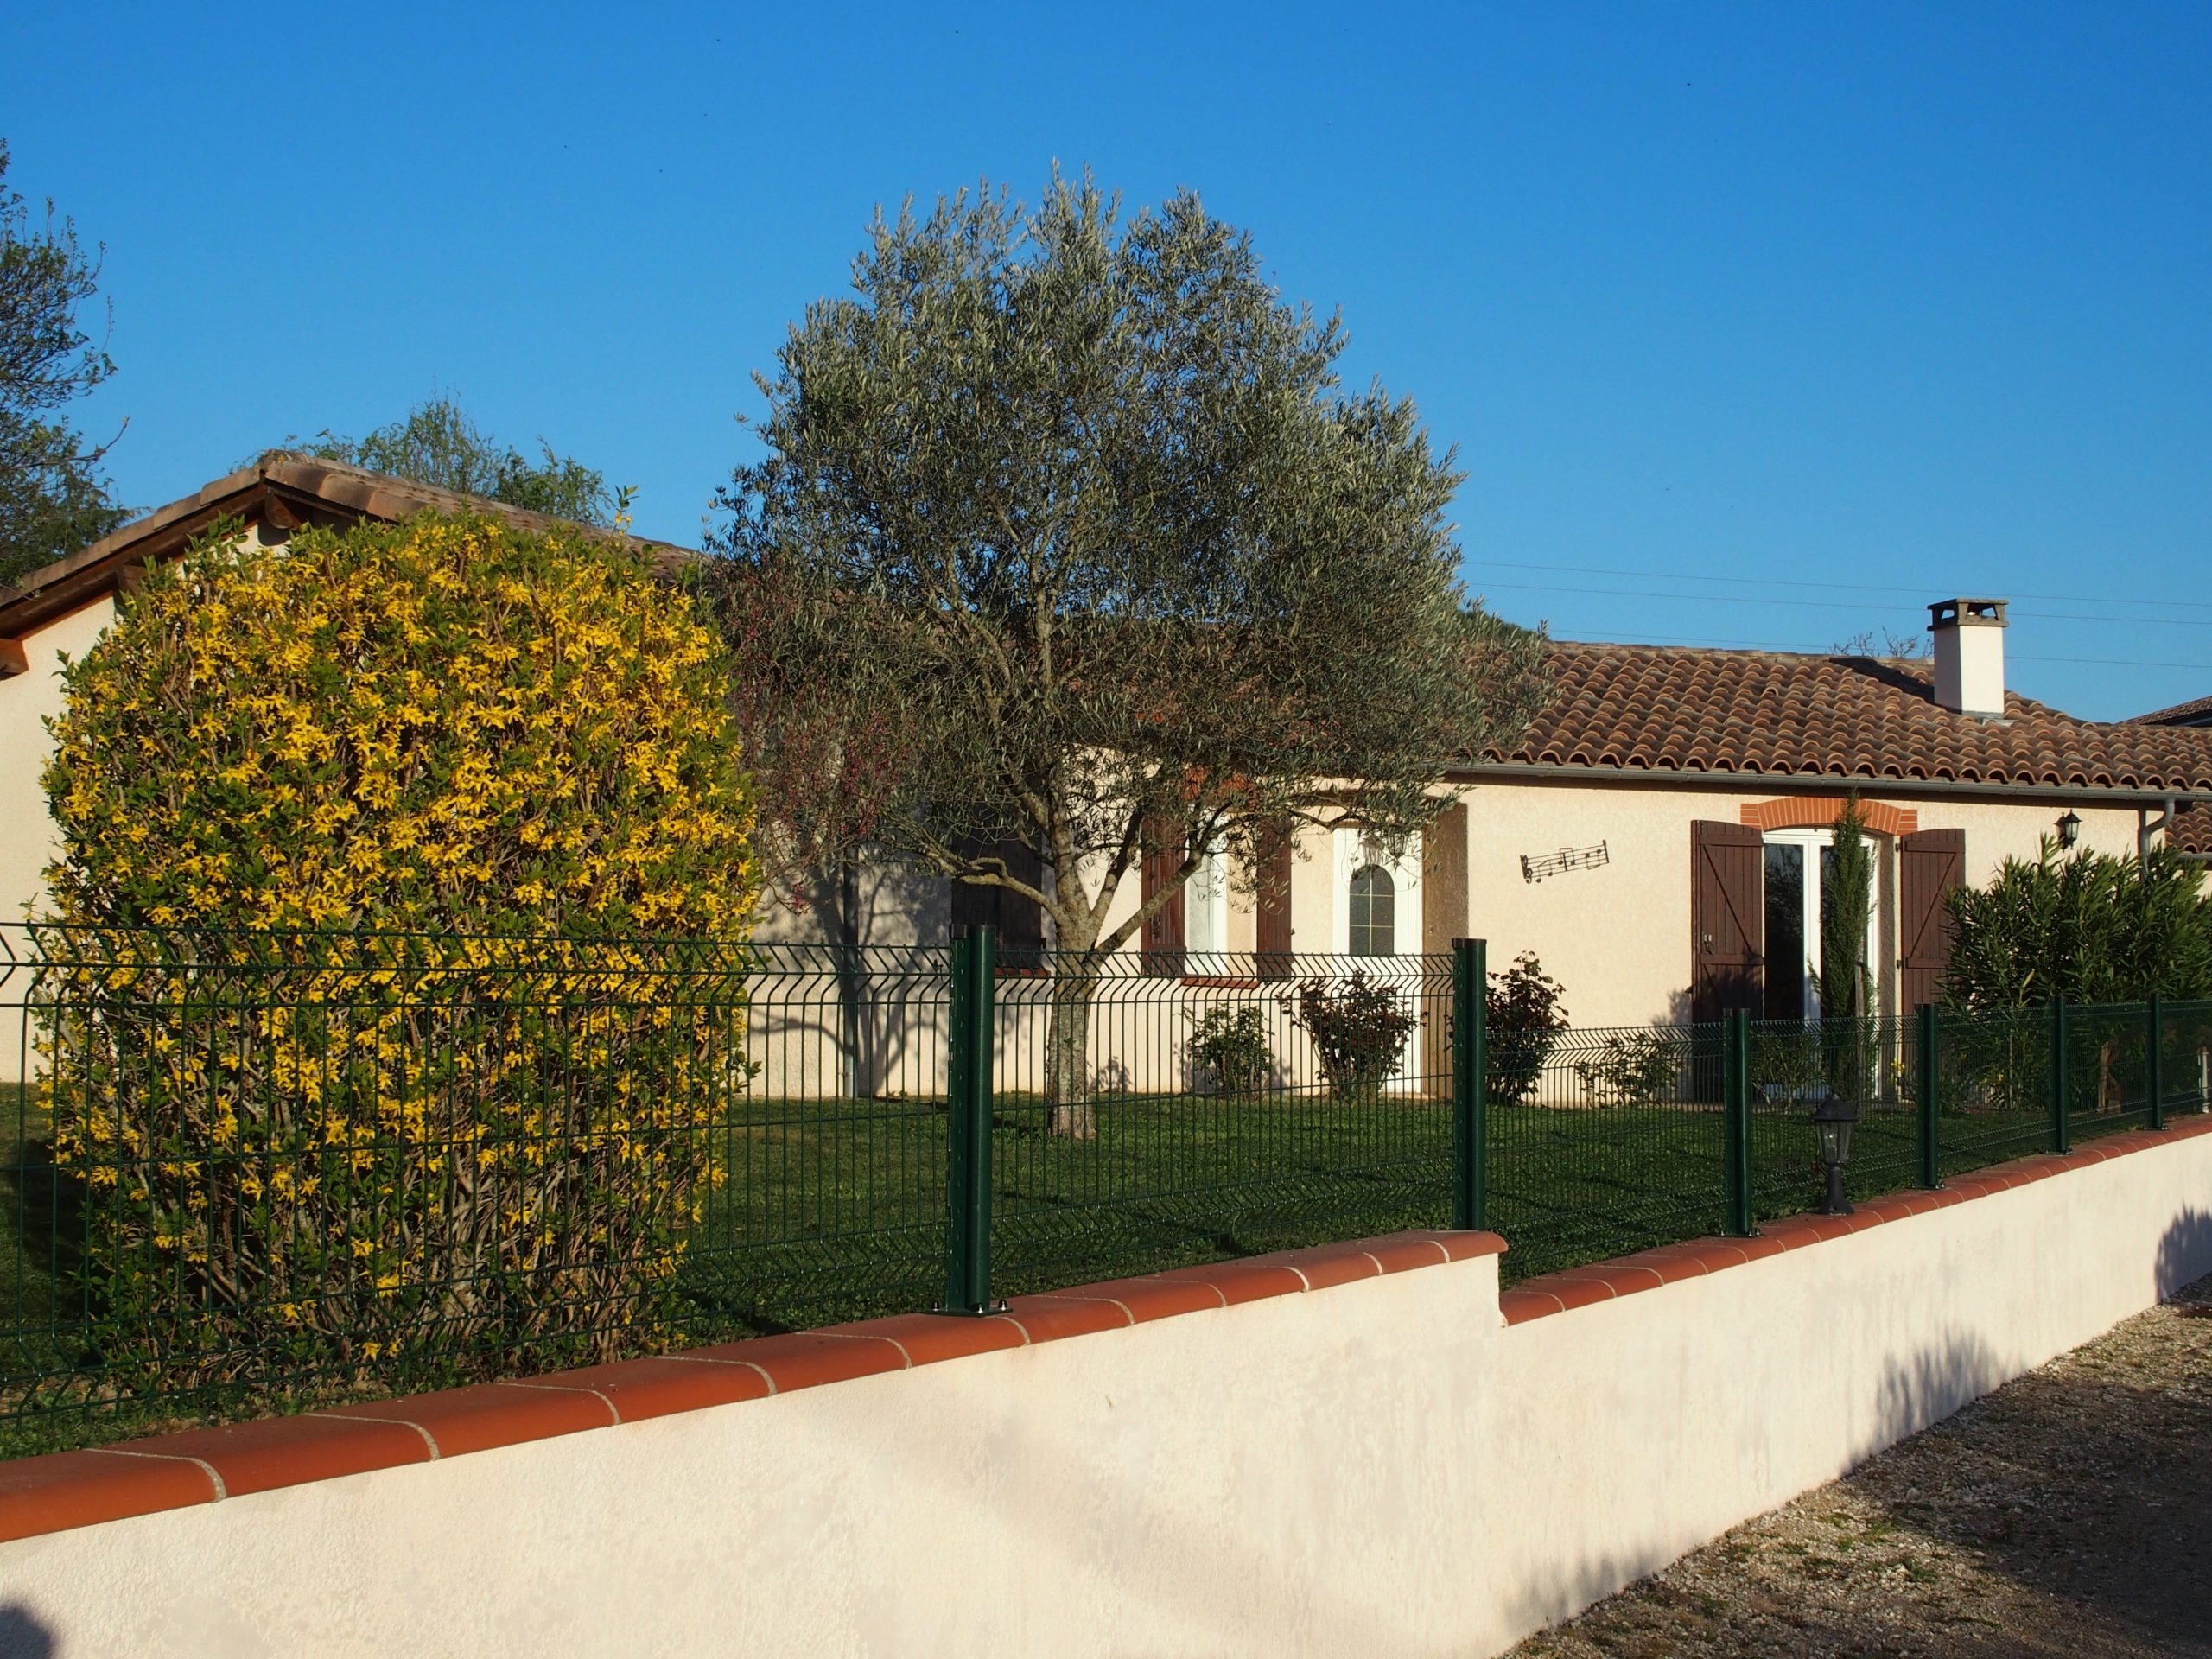
Installing a fence on sloping ground can be daunting! Whether dealing with significant elevation changes, gently sloping terrain, or challenging ground conditions, installation is entirely achievable—just slightly more technical. That is why our Districlos experts guide you step by step through the installation of your rigid mesh fencing.
What You Need to Know About Sloping Ground
Having a garden with more or less pronounced elevation changes can be a barrier to purchasing your dream home. On the contrary, sloping terrain provides more fertile soil for growing your favorite plants. You can work with the different levels of your garden by adding stone retaining walls to structure the terrain. Let us return to our fences! On flat ground, panel levels must be identical to maintain proper alignment. In our situation, you will have a choice between stepped installation or sloped installation. We will explain step by step how to install your fence on a slope.
2 Installation Methods
To install your fence properly, the important thing is to know your terrain well. We recommend calculating the slope gradient to determine whether the slope is gentle, moderate, or steep.
How to Calculate the Gradient?
To calculate the gradient of your terrain, divide the elevation change (height between the starting and ending points) by the horizontal distance of the terrain then multiply by 100. For example, if your elevation change is 10 m and the horizontal distance of the terrain is 100 m, your slope will therefore be 10%. Between 4% and 15%, the slope is classified as gentle. From 15% to 30%, it will be moderate. Beyond that, the slope will be steep.
Stepped installation This is the easiest technique, provided you have a retaining wall. The fence will therefore be fixed with mounting plates on the wall at different levels. Thanks to the wall, the fence will perfectly follow the slope of the terrain.
Sloped installation Here, it will be necessary to cut your mesh in order to properly align the fence. This installation is ideal for panels over 130 cm because your posts will be set in the ground and therefore more resistant. This is precisely the method we will break down for you…
The choice of installation method is now simply a matter of aesthetics and personal preference!
Prepare Your Materials
Required products:
- Rigid panels according to the desired length for your fence.
- Posts to support your mesh panels.
- Mounting spacers to tension the panels and facilitate installation.
- Finishing caps for your posts to protect them.
All of these elements are included in our rigid mesh fencing kits.
For tools you will need: Gloves, 2 marking stakes, sledgehammer, string line, tape measure, bolt cutters, marking spray, shovel, spirit level, wheelbarrow, one bag of concrete per post, hooks, battens, and a finishing spray.
Please note: order our Districlos tools directly from our website!
Step 1: Prepare the Installation
To begin, mark out your location by placing the marking stakes 50 cm outside your fence line. For example, for a 2.50 m fence, allow for 3.50 m spacing.
Important! Installation of your fence on a slope must begin at the highest point of your terrain.
Stretch your string line at the location of your fence. Before cutting your panel, position it level and measure its clearance from the ground. We recommend not exceeding 8 cm. You can cut your panel into two symmetrical parts if necessary.
Let us return to our example. With the panel measuring 2.50 m, locate the center of the panel and cut your horizontal wires flush with your vertical wires. To do this, use bolt cutters. Repeat the necessary cut on each wave to allow the panel to slot into the post. Repaint the cut sections using a spray paint.
Using the marking spray, mark the location of the first hole as well as the following holes, respecting the length of your cut panels. Remove the string line to avoid obstruction when making the holes. The holes must measure 40 cm in width and 50 cm in depth. Reposition the string line at its initial location. Prepare your battens to stabilize your structure using hooks or nails.
Unpack your materials and position them at the edge of the planned location for your fence.
Step 2: Install the First Bay
Position your first panel level as close to the ground as possible. Place the next panel at the same height as the previous one. Use the tension spacers at the top and bottom of the panel as well as battens to keep your panel level.
Ensure that the small notch is at the top of the post and that the rounded side faces the outside of the property. Check that the entire structure is level.
Step 3: Install the Second Bay
Repeat the operation for the next bay. Always ensure that the fence is properly aligned with the string line and level.
See also: Installing Your Privacy Panel Simply
Step 4: Set and Finish
Prepare your concrete mix following the instructions on the bag. Using a shovel, fill with concrete slightly below ground level while checking that the panel remains level. Then compact the concrete to stabilize the structure. Cover the concrete with soil to fill the holes and remove the string line.
After 2 days of drying, place the finishing caps on your posts. Remove your tension spacers and battens.
Your fence is now ready to secure your property! If you would like further advice on how to install your fence, please contact our experts at 04 22 53 10 34. Over to you!

Experte clôture, portail et aménagement extérieur depuis 2019.
Diplômée en Master de Marketing digital – SEO, UX/UI
Voir le profil sur LinkedIn


