
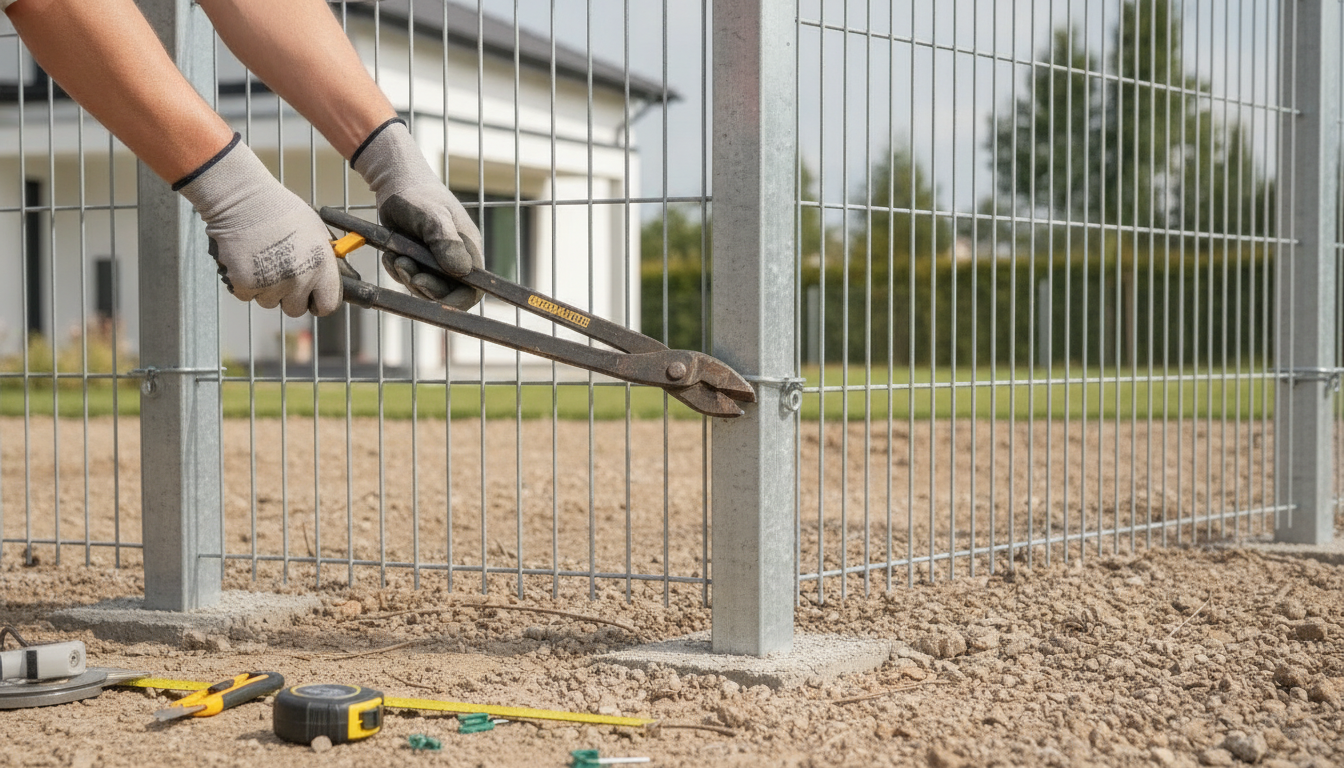
Installing rigid mesh fencing to define your property is an excellent option, but things get complicated as soon as the terrain features angles or irregular contours. Standard panels rarely align perfectly with corner posts. Fortunately, adjusting a panel is not rocket science. With the right tools and a bit of method, the operation can be carried out very effectively.
Taking measurements and anticipating angles
Before turning on the grinder, start by marking your installation line with stakes and a string line. If your terrain forms an angle, always begin the installation there. It is more logical: this will allow you to shift the inevitable cuts to the straight sections, where they will be much less visible.
Take the time to precisely measure the spacing between your posts (the center-to-center distance), taking into account the thickness of the groove or the fixing collars. An error of just a few millimeters is enough to make a panel impossible to insert or, conversely, too short to stay in place.
Which tools should be used for a clean cut?
To cut powder-coated galvanized steel without damaging the paint or weakening the panel, avoid using a manual hacksaw. The work is long, tiring, and rarely straight.
Instead, opt for an angle grinder equipped with a very thin metal cutting disc (1 to 1.6 mm). It offers a fast, clean cut without overheating the steel. A high-quality bolt cutter can also work for thin wires, but it tends to crush the end of the metal. Also, remember to equip yourself with safety goggles, gloves, and a felt-tip marker to mark your reference points.
Performing the cut step-by-step
Lay your panel flat on sawhorses. This is more comfortable for working and much safer. Mark your cut reference on the horizontal wires using the felt-tip marker. A small tip: to ensure the panel maintains its rigidity, try to cut just after a vertical wire (a reinforcement fold).
Then, cut the horizontal wires one by one with the grinder. Hold the tool firmly to prevent it from slipping and scratching the coating on the rest of the panel. If you also need to adapt the height due to a slope in the corner, apply the same method to the vertical wires.
Fixing the cut panel to the corner post
The installation of the trimmed panel depends on the type of post you are using:
- With notched posts: insert the cut side directly into the post’s groove, then secure it with the clips or blockers provided for this purpose.
- With classic round or square posts: use corner (or starter) fixing collars. Attach them to the post to directly clamp the horizontal wires you have just cut.
Protecting the metal against rust
This is the step that people tend to forget, but it is essential. By cutting the steel wire, you remove the protective zinc layer (galvanization) and the paint. Left bare, the metal will rust at the first sign of rain.
To avoid this, give the cut area a quick brush to remove metal burrs, then immediately apply a touch-up paint spray. Choose the exact color of your fence (generally RAL 6005 green, RAL 7016 gray, or RAL 9005 black). In addition to concealing the cut, this spray provides long-lasting protection for the steel against corrosion.
Need help with your project?
Because every piece of land has its own characteristics, installing a fence sometimes requires a bit of preparation. At Districlos, we help you design your custom project. Whether you need to calculate the exact number of panels, find the right corner posts, or choose the appropriate fixing accessories, our advisors are here to guide you. Find all our products online or directly in one of our stores throughout France.

Experte clôture, portail et aménagement extérieur depuis 2019.
Diplômée en Master de Marketing digital – SEO, UX/UI
Voir le profil sur LinkedIn


