
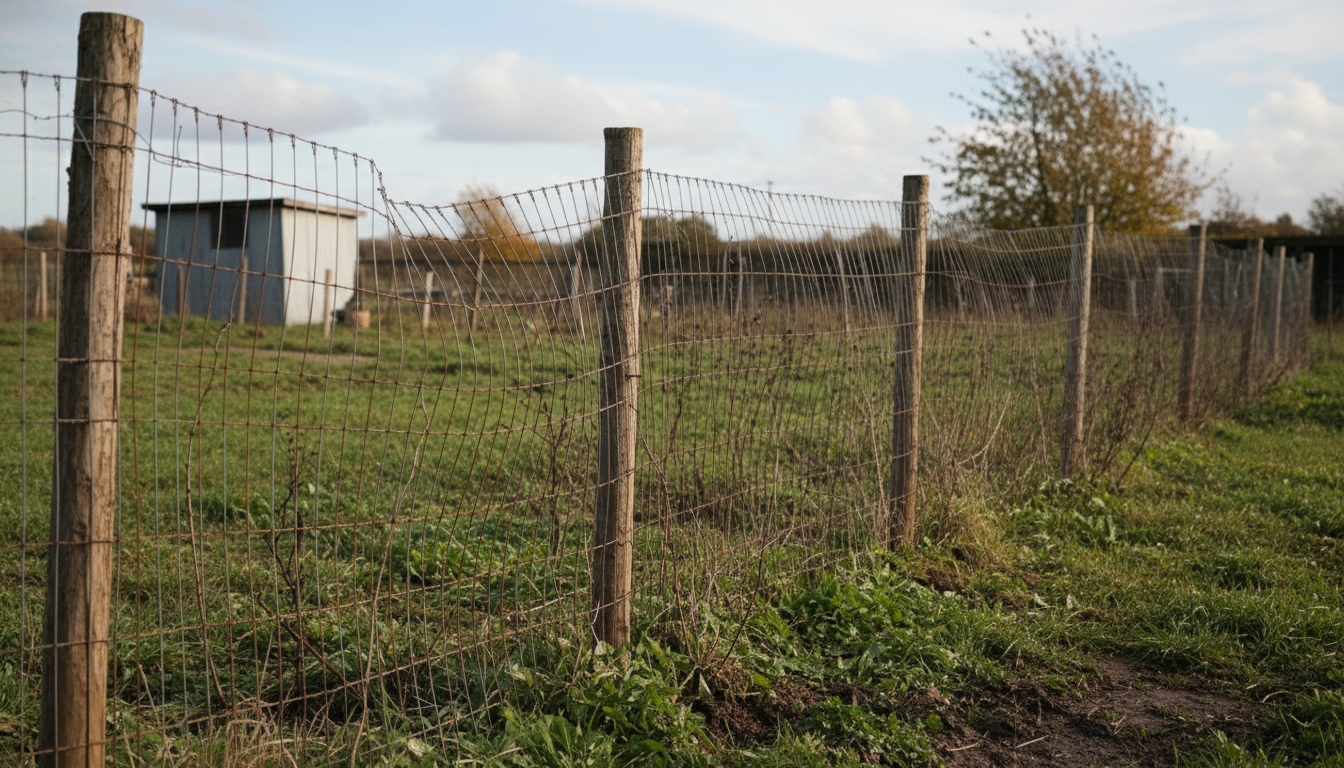
Poorly tensioned flexible mesh fencing results in a fence that warps at the first gust of wind, sags under its own weight, and ages twice as fast. Yet, tensioning remains the step that many installers, both private individuals and professionals, neglect or botch. The result: leaning posts, wavy fencing, and a disappointing appearance. Properly tensioning flexible mesh fencing is not rocket science, but it requires method, the right tools, and some technical know-how.
Why Tensioning Is Crucial
Flexible mesh fencing (also known as chain-link fencing) has no inherent rigidity. Unlike rigid welded panels, it relies entirely on its tension to stand upright. Without correct tension, the mesh deforms, accumulates wind resistance, and exerts erratic stresses on the posts. In the medium term, the entire structure suffers.
Aesthetics also depend on it. A well-tensioned fence follows a clean, straight line between each post. This is what differentiates a professional-looking fence from an amateur result that is noticeable from 50 meters away.
Equipment to Gather Before Starting
Before unrolling a single meter of fencing, ensure you have everything at hand. There is no need to improvise with pliers and good intentions: specific tools exist for this operation.
You will need:
- a lantern tensioner (or ratchet tensioner) for each tension wire; allow 2 to 3 per fence line
- galvanized tension wire (2.2 to 2.7 mm diameter depending on the fence height)
- tension bars at ends and corners
- a stretcher or spreader bar to hold the mesh during pulling
- staples or ties to attach the mesh to intermediate posts
Without this equipment, you risk either not achieving sufficient tension or deforming the mesh by forcing it by hand.
Install Tension Wires Before the Mesh
Tension wires form the skeleton of your fence. Generally, two are installed for a fence 1 m to 1.20 m high (one at the top, one at the bottom), and three for heights above 1.50 m. These wires pass through the lantern tensioners fixed on the end and corner posts, then through the intermediate posts via loops or hooks.
The classic mistake: tensioning the wires after unrolling the mesh. The opposite is what should be done. First, install the tension wires between the posts, apply pre-tension, then attach the mesh to them. This sequence distributes the effort uniformly along the entire length and prevents slack pockets.
Unrolling and Tensioning: The Correct Technique
Always start at an end post. Slide a vertical tension bar into the first meshes of the roll, then fix this bar to the post. Then, unroll the mesh along the intermediate posts without fixing it, simply laying it on the ground against the posts.
Upon reaching the opposite end post (or the first corner post), insert a second tension bar into the mesh. This is when you pull. Use a fence stretcher (a lever tool) or, failing that, a clamp and a board to apply consistent horizontal tension. The mesh should be taut but not crushed: the diamond-shaped meshes must remain regular without deforming into flattened rectangles. Then, tighten the lantern tensioners to lock the tension on the support wires.
Mistakes That Ruin an Installation
The first, as just mentioned: unrolling and fixing the mesh post by post instead of tensioning it in one continuous piece between two fixed points. Each premature intermediate fixing creates a hard point that prevents tension from distributing evenly.
A second common mistake: forgetting the brace posts. On end and corner posts, the tension of the mesh exerts considerable pull. Without a brace post (an oblique strut anchored to the ground), the post will eventually lean inward within a few weeks.
Also, remember to maintain a maximum spacing of 2.50 m between intermediate posts. Beyond this, even a well-tensioned fence will eventually sag between supports.
Maintaining Tension Over Time
Flexible mesh fencing naturally loosens over time due to its own weight, wind, and temperature variations. This is not a defect; it is mechanical. This is precisely why lantern tensioners exist. A quarter turn from time to time, once or twice a year, is enough to take up the slack and keep a fence straight.
Take advantage of this annual check to inspect the ties on the intermediate posts. A broken tie wire means a section of the mesh becomes detached, stressing neighboring fixings. Replace them immediately; it takes five minutes and prevents a chain reaction of degradation. At Districlos, you will find all tensioning and fixing accessories in stock, available in-store or for fast delivery.

Expert in fencing, gates, and outdoor landscaping since 2019.
Holds a Master’s degree in Digital Marketing – SEO, UX/UI.
View LinkedIn profile


