
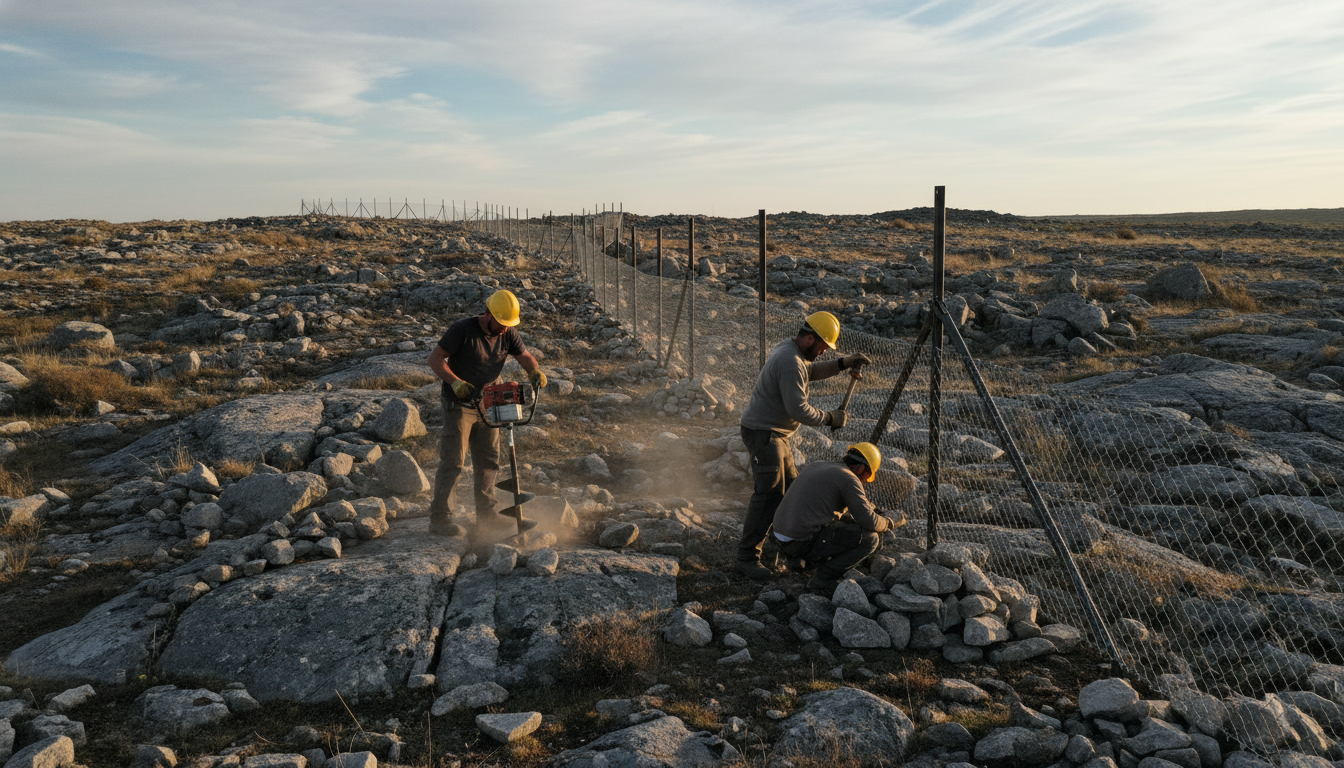
Installing a fence on flat, loose ground is almost a formality. However, on 500 linear meters of rocky soil, everything becomes more complicated. Outcropping rock, the impossibility of digging deeper than 20 cm in some places, and stones blocking the auger at every attempt—this type of project tests the equipment, the method, and the patience. Here is how this project unfolded, along with the technical choices that made the difference.
The Site: Hard Limestone Soil on a Sloping Agricultural Plot
The project is located in the South of France, on an agricultural plot of several hectares bordered by local roads. The owner wanted to fence the entire perimeter to contain his animals and secure access. The problem: the soil consists of hard outcropping limestone, covered in places by barely 10 to 15 cm of earth. In some areas, the rock is visible on the surface. A quick survey of the ground confirmed what everyone feared: it was impossible to install posts in the traditional way on at least 60% of the linear distance.
Choosing Equipment Suitable for Rock
On standard soil, posts are either set in concrete or driven into holes 40 to 50 cm deep. Here, this approach was not viable for the majority of the route. Two solutions were combined:
- Base plates to be screwed or anchored to the rock: where the limestone outcrops, the posts were fixed to base plates bolted directly into the stone using mechanical anchors for concrete/rock. Each base plate is drilled using a hammer drill with an SDS bit suitable for limestone.
- Setting in concrete in holes drilled with a rock breaker: where 20 to 30 cm of soil covers the rock, a hydraulic rock breaker (HRB) mounted on a mini-excavator was used to break the stone to create pilot holes, which were then filled with concrete to set the posts.
Rigid welded mesh panels were preferred over flexible roll fencing. Rigid panels better tolerate slight irregularities in post placement, and their attachment via clips requires no tensioning. On such rugged terrain, this makes a significant difference.
Project Timeline: Three Weeks for 500 Meters
The route was first staked out with a string line across the entire perimeter. Each post location was individually tested with a digging bar to determine the depth of the rock. This survey allowed each point to be classified into two categories: base plate fixing or setting after drilling.
The mini-excavator equipped with the rock breaker prioritized all areas requiring drilling into the rock. This work alone took a full week. The posts on base plates were installed in parallel by a second team. In total, approximately 200 posts were installed over the 500 meters, with a standard spacing of 2.50 m. The installation of the rigid panels then took an additional full week.
Mistakes to Avoid on This Type of Soil
A common temptation on rocky ground is to reduce the setting depth to go faster. This is exactly what should be avoided. A post set 15 cm into the rock instead of 30 cm will not withstand the wind, nor will it hold if an animal pushes against the fence. It is better to switch to an anchored base plate than to botch a setting that is too shallow.
Another frequent trap is using a standard gas-powered auger, thinking it will overcome the limestone. In practice, the bits wear out in just a few holes and the motor is dangerously strained. A hydraulic rock breaker is essential as soon as the hardness exceeds that of soft stone.
The Real Cost of a Project on Rocky Ground
Compared to an installation on loose soil, the additional cost is between 30% and 50%. This is due to the rental of the mini-excavator with a rock breaker (approximately €350 to €500 per day), the labor time being doubled during the post-installation phase, and the cost of the base plates and mechanical anchors. On this 500-meter project, the total budget for materials and installation was around €18,000 excl. tax, compared to approximately €12,000 for a site without any particular difficulties.
The rigid mesh panels, posts, and fixing accessories represented about 60% of the budget. The remaining 40% covered ground preparation and the additional labor related to the rock.
Key Takeaways Before Starting
Rocky soil does not make installing a fence impossible. You simply need to choose the right fixings and plan for the correct drilling equipment. Ground reconnaissance is the step that cannot be skipped: without it, you will find yourself stuck at the very first post. Furthermore, rigid panels, rather than flexible mesh, considerably simplify installation on irregular terrain.
At Districlos, our teams regularly assist professionals and individuals facing this type of terrain. Whether it is for choosing base plate posts, suitable rigid panels, or sizing your project, our customer service is available to advise you. Find all our fences, mesh, and accessories in stock, available for in-store pickup or direct delivery to your site.

Expert in fencing, gates, and outdoor landscaping since 2019.
Holds a Master’s degree in Digital Marketing – SEO, UX/UI.
View LinkedIn profile


