

Rigid fencing offers the best balance for any type of terrain. The only problem you might run into is installing this rigid mesh on water... though even that is something we're working on!
But in all seriousness, here is everything you need to know about rigid fence panels!
1 - Our flagship product
For several years now, rigid mesh fencing panels have consistently ranked among our top 10 products—and for good reason:
QUALITY: All our rigid panels are of professional quality yet accessible to everyone. Each panel features a protective coating (galvanization plus powder coating).
STANDARDS: DISTRICLOS is ISO 9001:2008 certified. This standard focuses on continuously increasing customer satisfaction through service quality.
WARRANTY: Like all our products, our rigid fencing comes with a 10-year warranty.
ORIGIN: All our rigid mesh panels come from the same Spanish manufacturer, "RIVISA."
AESTHETICS: The rigid panels feature a simple, clean, and uniform design. Available in various colors, they allow you to customize your property to your liking.
SECURITY: Each rigid panel we offer is 2.50 meters long. This design incorporates horizontal wires with a 5 mm diameter, making the panels significantly stronger and more durable (see below).
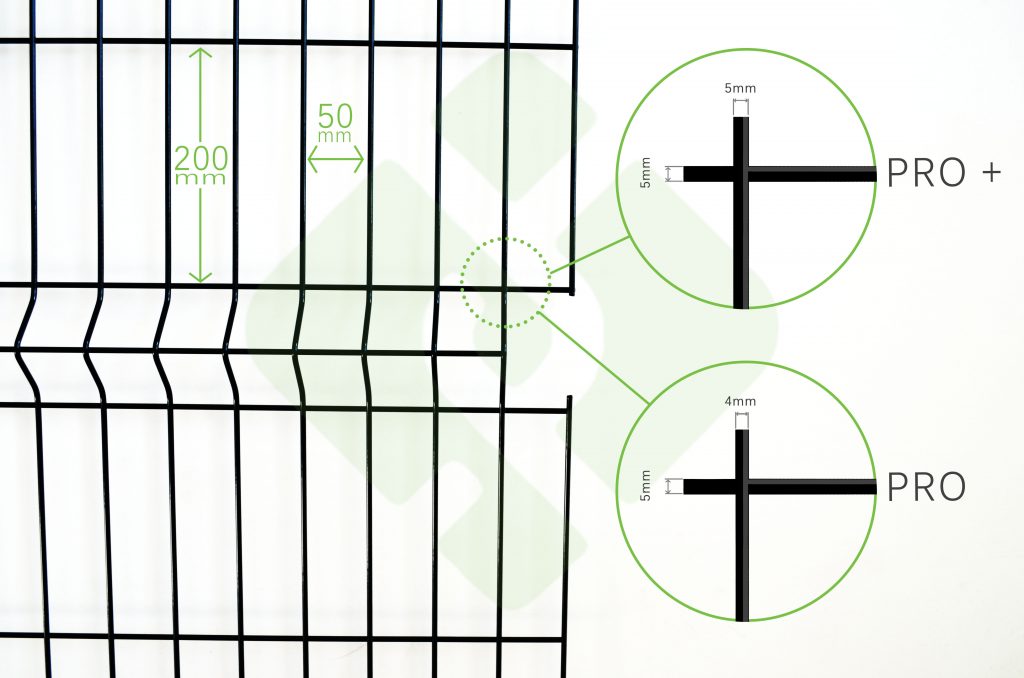
2 - Rigid mesh fencing: an all-purpose solution
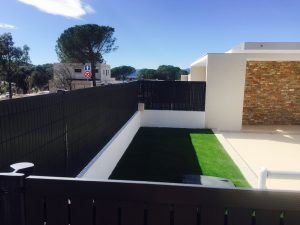
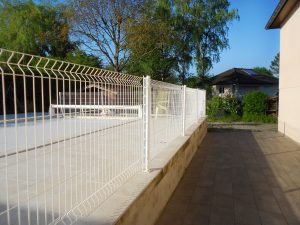
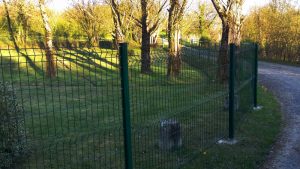
Whether installed in the ground or on a low wall, on flat or sloping terrain, in a straight line or around a curve, DISTRICLOS rigid fence panels are easy to install perfectly!
Installation is extremely simple—whether by embedding the posts in concrete or using base plates—and here is the procedure.
Installing rigid fencing in the ground (concrete embedding):
Installing rigid mesh fencing on base plates
Installing rigid mesh fencing on a slope
Just as with the previous installation methods, you need to use taller posts to create a stepped effect with the rigid panels. It’s child's play!

Expert in fencing, gates, and outdoor landscaping since 2019.
Holds a Master’s degree in Digital Marketing – SEO, UX/UI.
View LinkedIn profile


