
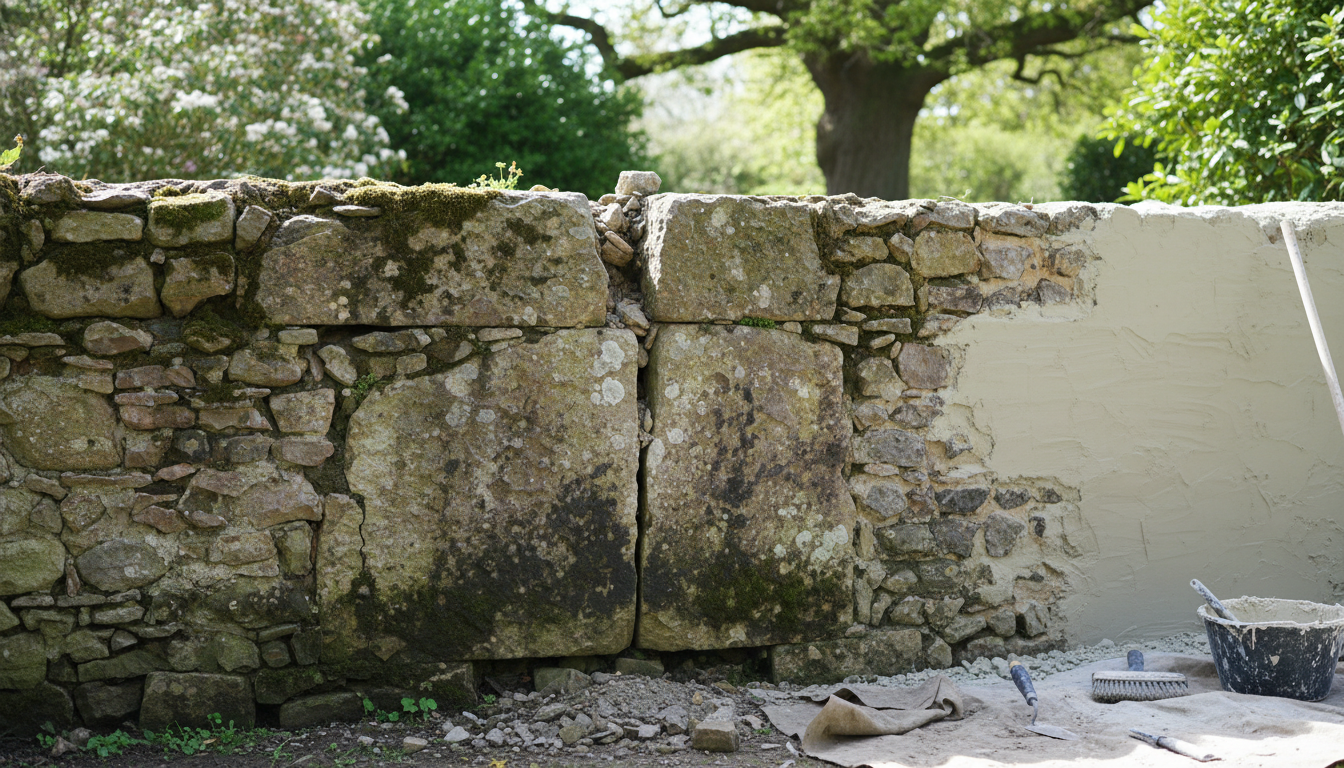
Is your fence wall crumbling, cracking, or showing signs of dampness? Over time, weather and frost can degrade even the most solid constructions. Rather than demolishing everything to rebuild from scratch, there are several ways to renovate an old wall to restore its clean and functional appearance. Diagnosis, repair, cladding: here’s how to do it.
Assess the Wall’s Condition Before Starting
Before you grab your trowel, take the time to inspect your wall. Not all damage is equal. A simple flaking render does not require the same treatment as a leaning wall or one with shifting foundations.
Identify cracks, their size, and their orientation. A fine, superficial crack is often benign. However, a crack that goes all the way through the wall, widens over months, or follows a stepped pattern in the joints indicates a structural problem. Also, check if the wall shows traces of moss, saltpetre, or efflorescence, all signs of water infiltration that must be treated before any aesthetic renovation. A structurally sound but unsightly wall is easy to renovate. An unstable wall sometimes requires partial repair or foundation reinforcement.
Repairing Cracks and Damaged Joints
On a concrete block, stone, or brick wall, the joints are the first to suffer. The mortar disintegrates under the effect of frost and rain, which weakens the entire structure. Repointing involves scraping out the degraded joints a few centimeters deep, then refilling them with suitable mortar. It’s a methodical job, but entirely doable yourself.
For superficial cracks, a repair sealant or filler compound is sufficient. For larger cracks, you’ll first need to open them into a V-shape with a chisel, dust them, moisten them, then apply a fiber-reinforced repair mortar that absorbs micro-movements. If the crack is structural, call a mason: metal stapling or rebar reinforcement may be necessary before closing it up.
Treating Dampness and Rising Damp
An old fence wall that remains constantly damp will not dry out on its own. Rising damp, where ground water rises into the wall by absorption, is a common problem in old walls lacking a damp-proof course. Renovating over it without treating this phenomenon is a waste of time: the new render will blister within a few months.
Two approaches depending on the severity of the problem. You can apply a mass water repellent or an injection product into the base of the wall to create a barrier against rising damp. The other option: install drainage at the foot of the wall on the soil side, with an agricultural drain and gravel, to divert water before it reaches the masonry.
Once the wall is clean and dry, you can proceed to the finishing.
Render the Surface with a Coating or Roughcast
This is often the most visible and rewarding step. A facade render applied to an old fence wall completely transforms its appearance. On a raw concrete block or rubble stone wall, the render protects against weather and provides a neat finish.
Start with a ‘gobetis’ (projected bonding coat), then a body coat to even out irregularities, and finally a finishing coat, troweled, scraped, or crushed depending on the desired look. Ready-to-use single-coat renders simplify the work for DIY enthusiasts. Allow a good weekend to render a standard fence wall. Remember to moisten the substrate and work in frost-free conditions and out of direct sunlight for proper setting.
Cladding the Wall Rather Than Fully Repairing It
When the wall is sound but frankly unsightly, cladding is a quicker alternative to a complete rendering.
Composite or wooden slat cladding, fixed to a frame, gives a contemporary look and hides defects without touching them. Reconstituted stone or brick slips can be glued directly onto the wall and mimic noble materials at a reasonable cost. Another solution: fix privacy panels, a screen, or a trellis on the garden side to conceal the wall while gaining intimacy. At Districlos, you will find privacy and screen solutions that can be easily installed on an existing wall or on posts installed in front.
Raising or Extending a Wall That’s Too Low
An old fence wall 80 cm or 1 meter high protects neither from prying eyes nor intrusions. Rather than demolishing it, you can raise it. The most common method: add a few rows of concrete blocks or bricks on top, anchoring the new rows to the existing structure with connecting rods.
If you don’t want to add masonry, a rigid fence made of welded panels fixed to the top of the wall will do the trick. This is a very common combination: the wall provides solidity at the bottom, while the rigid mesh adds height while allowing light to pass through. Districlos offers fence panels and posts suitable for this type of installation on a low wall, with the corresponding fixing plates.
Regular Maintenance to Avoid Having to Redo Everything
Once your wall is renovated, a few simple steps will extend its lifespan by several decades. Clean it once a year with a low-pressure washer or brush to remove moss and dirt. Apply an anti-moss treatment if your wall is north-facing or in a damp area. Monitor for nascent cracks and fill them as soon as they appear; it’s always easier to address a problem early than to deal with a major repair five years later.
A coping or capping stone placed on top of the wall protects the masonry from water infiltration from above. If your wall doesn’t have one, it’s a minimal investment that makes all the difference. Aluminum, concrete, reconstituted stone: choose a material that matches the style of your fence.

Expert in fencing, gates, and outdoor landscaping since 2019.
Holds a Master’s degree in Digital Marketing – SEO, UX/UI.
View LinkedIn profile


