
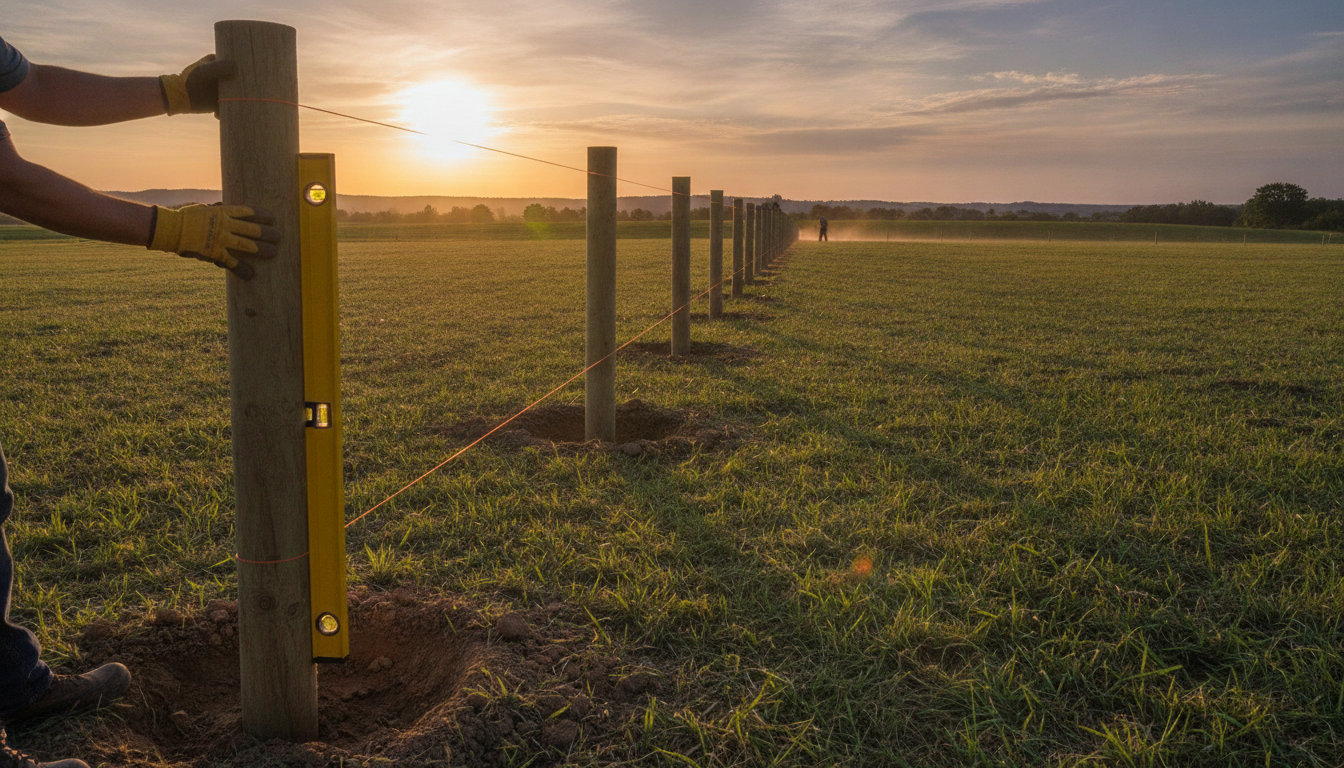
Over three or four meters, installing a straight fence is within everyone’s reach. However, as soon as the distance increases, things become more complicated. A discrepancy of a few millimeters at the start can quickly turn into a gap of several centimeters at the end, leaving you with a fence that zigzags or encroaches on the neighbor’s property.
To achieve impeccable alignment, you don’t need to be a professional: you simply need to use the right method and proceed step by step.
Necessary equipment (the human eye is not enough)
Over a long distance, it is impossible to rely solely on visual perception. Before digging the first hole, gather these few tools:
- A nylon mason’s line (avoid cotton, which stretches with humidity).
- Sturdy stakes or metal markers.
- A tape measure, a reliable spirit level, and a plumb bob.
An outdoor laser level can also save you time, although the traditional string method remains the most reliable for beginners. If you are looking for quality equipment or advice on choosing your panels, you will find everything you need at Districlos (in-store or on their website).
Start by fixing the ends
All precision work relies on the two ends of your future fence. Drive a first stake at the exact location of your first post, then a second at the other end. Take the time to carefully check your property boundaries before driving anything in: once the concrete is poured, it will be too late to correct the situation.
Then stretch the mason’s line between these two stakes. It must be as tight as possible so as not to sag under its own weight in the middle of the run. This line will serve as a guide for the rest of the project.
The marker technique against wind and sagging
If your fence exceeds 15 or 20 meters, the line will inevitably sag or move due to the wind. To avoid this, place intermediate markers or stakes every 10 to 15 meters.
To align these markers without distorting your reference line, use a simple trick: stand behind one of the end stakes and aim for the opposite stake. Visually align your intermediate markers so that they hide the stake at the other end. Then fix your line to these intermediate points to stabilize it properly.
How to handle slopes and bumps?
Perfectly flat terrain is quite rare over long distances. If the ground has a slope, two solutions are available to you:
- Stepped installation: the line remains perfectly horizontal. You adjust the height of each post individually using your spirit level to create regular steps.
- Parallel slope installation: the line follows the natural curve of the ground at a constant height. In this case, use the plumb bob to ensure that each post remains perfectly vertical, and do not tilt it to follow the slope.
Placing and setting the posts without moving the line
Mark the location of each post on the ground by precisely measuring the recommended spacing for your panels or fencing.
When digging the holes and putting the posts in place, be very careful: the post should touch the mason’s line, but never lean against it. If a post pushes the line, even by two millimeters, it will distort the alignment of all subsequent ones.
For pouring the concrete:
- Start by setting the end posts to firmly establish your reference points, then work your way toward the center.
- Use wooden cleats as braces to hold each post in place while the concrete dries. Check the plumb one last time before letting it harden.

Experte clôture, portail et aménagement extérieur depuis 2019.
Diplômée en Master de Marketing digital – SEO, UX/UI
Voir le profil sur LinkedIn


