 Any questions?

-
-
Menu
-
-
-
-
-
-
-
-
-
-
-
-
-
-
Miscellaneous
-
-
-
-
-
-
-
 Configure your fence
-
-



Measuring guide
Tips and Key Steps for Installing Your Gate Outdoors
Looking to add a gate for extra security and curb appeal? Before you buy, accurate measurements are crucial. This guide walks you through how to measure for your gate, choose between a swing or sliding model, and avoid common mistakes.
1. Measure the Width Between the Posts

Measure the inside distance between the two posts at three different heights:
Why three measurements? Posts aren’t always perfectly parallel—especially on older structures or those that have shifted over time.
Record the smallest of the three measurements—this is the usable width for your gate.
If the difference between measurements is more than 1 cm, check the alignment of your posts before installation. For example: If you measure 3.03 m at the top, 3.01 m in the middle, and 3.02 m at the bottom, use 3.01 m as your width.
2. Measure the Height from the Ground to the Bottom of the Post Cap
Next, measure the total height available from the finished ground up to the bottom of the post cap (or cover).
- • Take this measurement on both sides, as the ground may slope slightly.
- • The final gate height should be 2 to 4 inches (5 to 10 cm) less than the available height to allow clearance for hinges and opening.
Make sure the rack and gate opener fit without interfering with the final height.

3. Special Case: If You Don’t Have Posts Yet
If you’re building your entryway from scratch:
- • Allow for a total gap = gate opening + 3 to 4 inches (8 to 10 cm) for hinges and hardware,
- • Position your posts based on the type of opening (inward or outward),
4. Check That the Ground Is Level
The ground should be flat and level across the full width of the gate.
If there’s a slope:
- • You can open the gate outward (if allowed by local regulations),
- • Or choose a custom model with adjustable hinges or an asymmetrical swing gate (one leaf smaller than the other).
Pro tip:
Use a bubble level or laser level to spot any height differences.
A slope greater than 3/4 inch per yard (2 cm per meter) can cause opening issues.
In Summary:
Measure the width between your posts at three heights (top, middle, bottom).
Note the available height from the ground to the post cap, leaving a 2 to 4 inch clearance.
Check that the ground is level and posts are plumb before installing.
Consider gate automation when measuring to avoid surprises during installation.
Choose a swing gate for wide, straight entries, or a sliding gate for tighter spaces or sloped ground.
If you’re unsure, consult a professional for on-site measuring—this ensures the best possible result.
A question about this product?
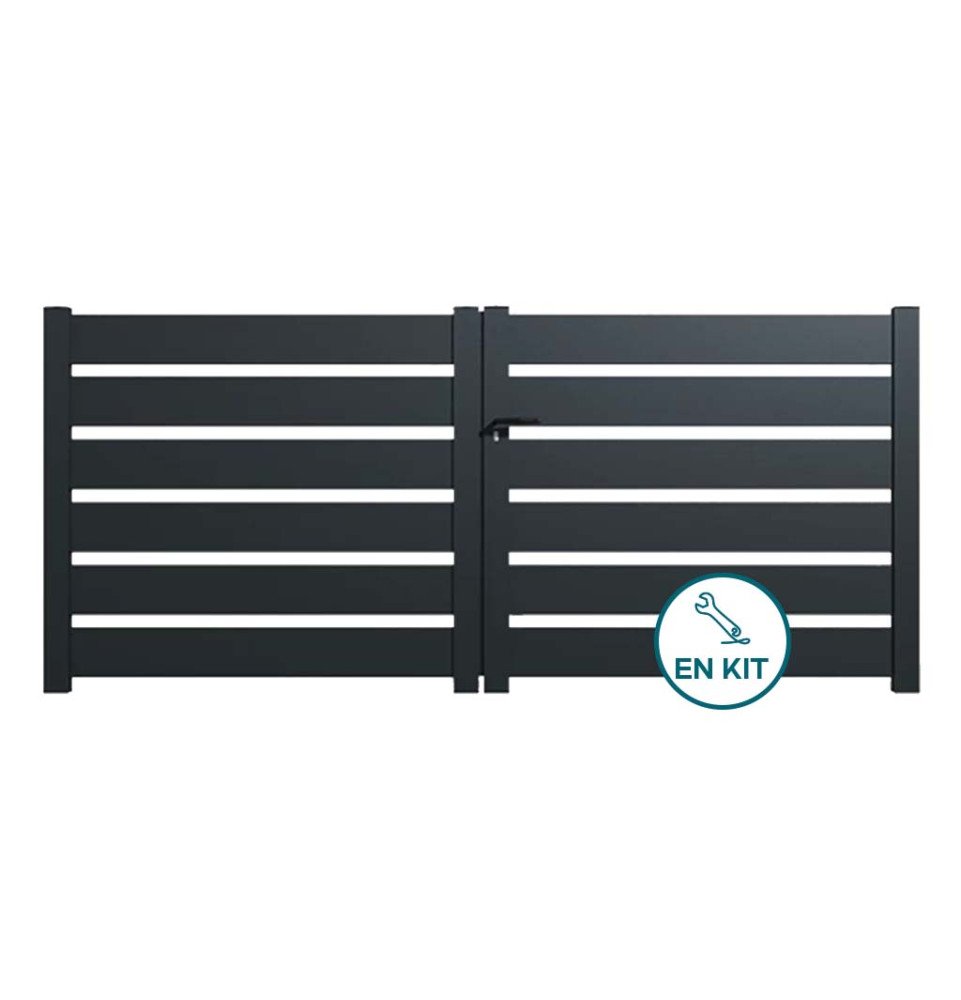
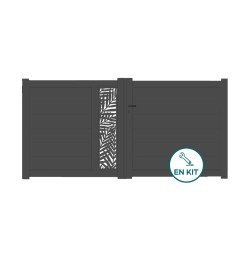
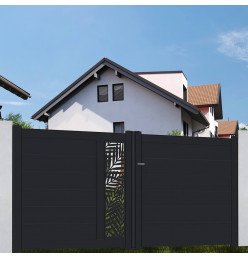
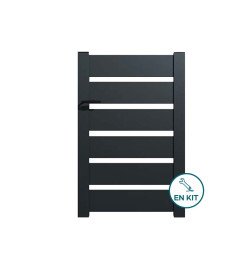
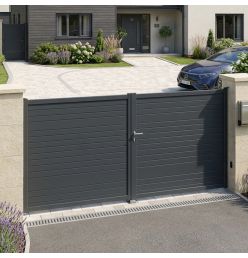
NOA Aluminum Swing Gate Kit
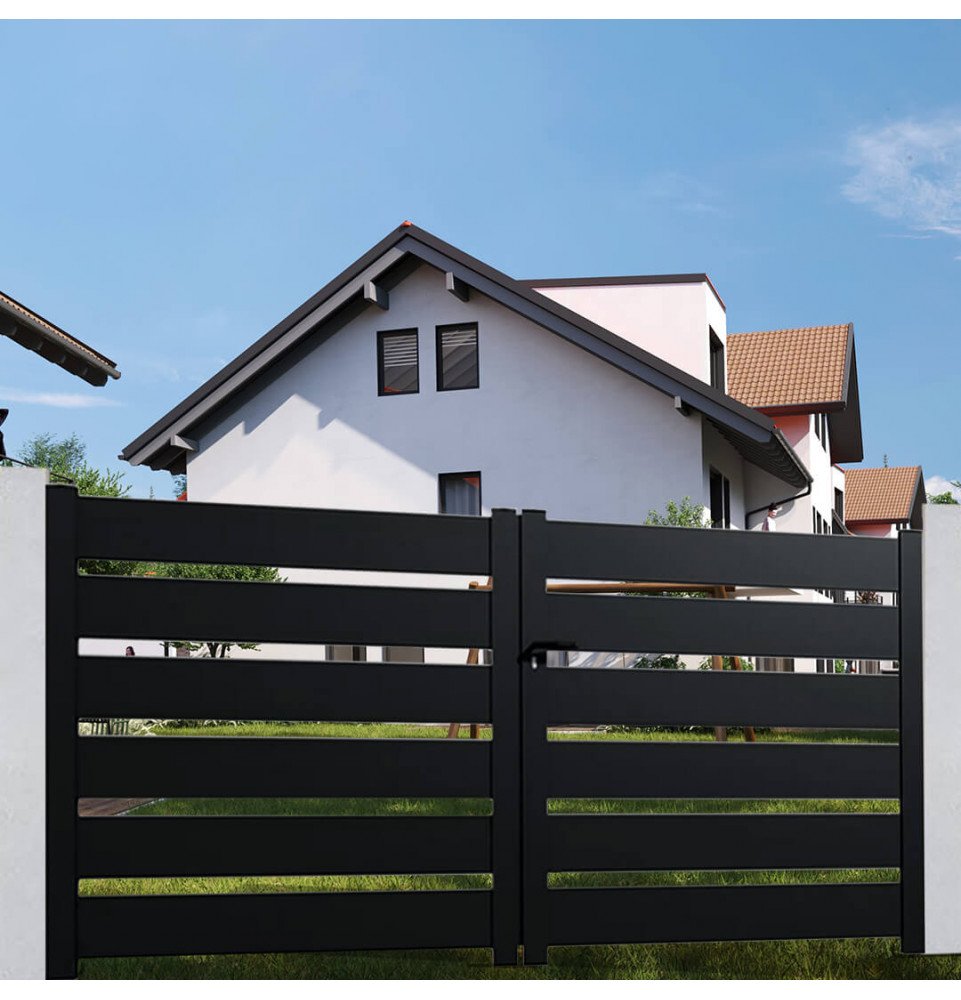
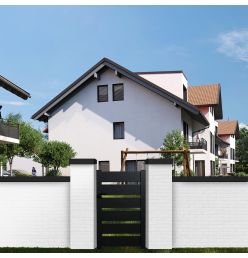
The NOA swing gate kit is a great choice for opening up your yard while maintaining clear boundaries. Its openwork design lets natural light in, creating a welcoming entrance. With its simple, modern look, this gate complements any outdoor style.
Elegant, lightweight, and timeless, the NOA aluminum gate kit is a popular option among homeowners.
Guaranteed cheapest product on the web
Found it cheaper elsewhere? We'll refund the difference.

Made in
France & Europe

Flexible Payment Options


10-Year
Anti-Corrosion Warranty

Home delivery
or in-store pickup
The NOA aluminum gate kit is designed to secure and enhance the entrance to your property. This model features two manually operated swing panels that are easy to open thanks to their lightweight construction. The openwork infill gives the gate a distinctive and stylish appearance. Like all aluminum gates, it is weather-resistant and requires no special maintenance. Enjoy your outdoor space with peace of mind, thanks to a gate that is both secure and contemporary.
The NOA gate comes as a DIY kit, which helps lower shipping and installation costs. This cost-effective approach allows us to offer a quality aluminum gate at an affordable price. Step-by-step assembly instructions are included, making installation straightforward—even for those new to DIY projects.
This kit includes
Lock and hardware
Post caps
Center stop
Meeting seal
Stainless steel strike plate
Upper and lower hinges
Benefits of the NOA aluminum swing gate kit
- Great value: supplied as a kit to keep costs down
- Durable: made in France for a premium finish
- Easy to install: straightforward assembly, even for beginners
Additional information
- Qualicoat and Qualimarine certifications: protects against corrosion and harsh weather
- Manufactured in Gironde, Southwest France – 5-year warranty (1 year for accessories and hardware)
Installing the NOA aluminum swing gate kit
The NOA swing gate opens manually, either to the left or right, and is fully reversible. Installation is straightforward with the included instructions. For best results, we recommend having two people for the installation.
This model fits between posts spaced:
– 3000 mm to 3050 mm for the 3000 mm gate,
– 3500 mm to 3550 mm for the 3500 mm gate.
Note: The listed height is measured from the ground to the top of the gate once installed.
Available colours
Green RAL 6005
Gray 7016
Black RAL 9005
White 9010
Brown 1247
Red RAL 3004
Data sheet
- Width
- 3 ft 11 in or 11 ft 6 in
- Weight
- 82
- Infill type
- Bars 200 x 20 mm
- Thickness
- 2 mm
- Section Size
- 1000 × 150 × 1500 mm / L.3000 (between posts) x H.1500 mm, L.3500 (between posts) x H.1500 mm
- Post
- 4.02 x 1.5 x 57.3 in
- Material
- Aluminum
- Origin
- France
- Warranty
- Gate: 5 years / Accessories: 1 year
A DIY aluminum swing gate kit includes two aluminum gate leaves that you assemble yourself. It comes with all the parts needed for installation, offering the durability of aluminum and straightforward setup. The gate leaves open manually, either inward or outward, and you can add an automatic gate opener later if needed.
A gate kit is a cost-effective option that helps lower both shipping and installation expenses. With a kit, you can get a quality aluminum gate at a more affordable price without compromising on durability. Our detailed assembly instructions make installation straightforward, even for those new to DIY projects. The gate's robust construction ensures long-lasting performance you can rely on.
Assembling a gate kit involves a few straightforward steps: carefully unpack all the parts, assemble the gate leaves on a flat surface following the included instructions, then attach the hinges to your posts before positioning the gate. Our Districlos kits come with all the necessary hardware and can typically be installed by two people in just a few hours.
Installing a gate kit typically takes two people about 3 to 5 hours to assemble and set up. The exact time can vary depending on your DIY experience and the specifics of your installation. Our detailed assembly guides make the process straightforward, so even first-time installers can usually complete the project in half a day if the posts are already in place.
A swing gate has two panels that open by pivoting on hinges, requiring clearance space to swing open either inward or outward. A sliding gate uses a single panel that moves sideways along a track, saving space in front of the entrance but needing enough room along the fence line for the gate to slide open fully.
A swing aluminum gate requires minimal maintenance because aluminum naturally resists corrosion. Simply clean it once a year with soapy water and a soft sponge to keep it looking its best. Avoid using abrasive cleaners, as they can damage the finish. It's also a good idea to lubricate the hinges once a year to ensure the gate opens smoothly.
In the same category
Our customers also bought

Our customers also bought

Get Districlos news, deals and inspiration in your inbox!
