Any questions?


€1,189.76
 Menu
Menu



Looking to install a gate to secure your property and enhance your outdoor space? Before you purchase, taking accurate measurements is crucial. This guide walks you through how to measure for your gate, choose the right style (swing or sliding), and avoid common mistakes.

Measure the inside distance between the two posts at three different heights:
Why three measurements? Posts may not be perfectly parallel—especially on older installations or those that have shifted over time.
Record the smallest of the three measurements—this is the usable width for your gate.
If the difference between measurements is more than 1 cm, check the alignment of your posts before installing. For example: If you measure 3.03 m at the top, 3.01 m in the middle, and 3.02 m at the bottom, use 3.01 m as your reference width.
Next, measure the total height available from the finished ground up to the bottom of the post cap (or cover).
Make sure the rack and gate motor can be installed without interfering with the gate's height.

If you're building your entrance from scratch:
The ground should be flat and level across the entire width of the gate.
If there's a slope:
Pro tip:
Use a spirit level or laser level to detect any height differences.
A slope greater than 3/4 inch per yard (2 cm per meter) can cause issues when opening the gate.
Measure the width between your posts at three heights (top, middle, bottom) for accuracy.
Note the available height from the ground to the post cap, leaving a clearance of 2 to 4 inches (5 to 10 cm).
Check that the ground is level and posts are plumb before installation.
Consider gate automation when measuring to avoid surprises during installation.
Choose a swing gate for wide, straight entries, or a sliding gate for tighter spaces or sloped ground.
If you have any doubts, contact a professional for an on-site measurement—it's the best way to ensure a perfect fit.
A question about this product?
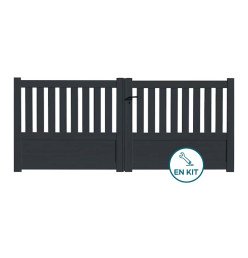
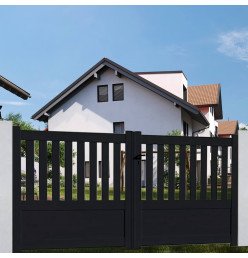
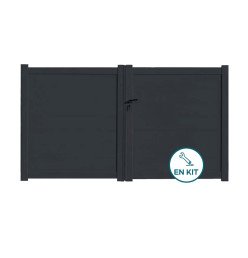
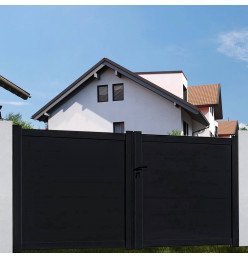
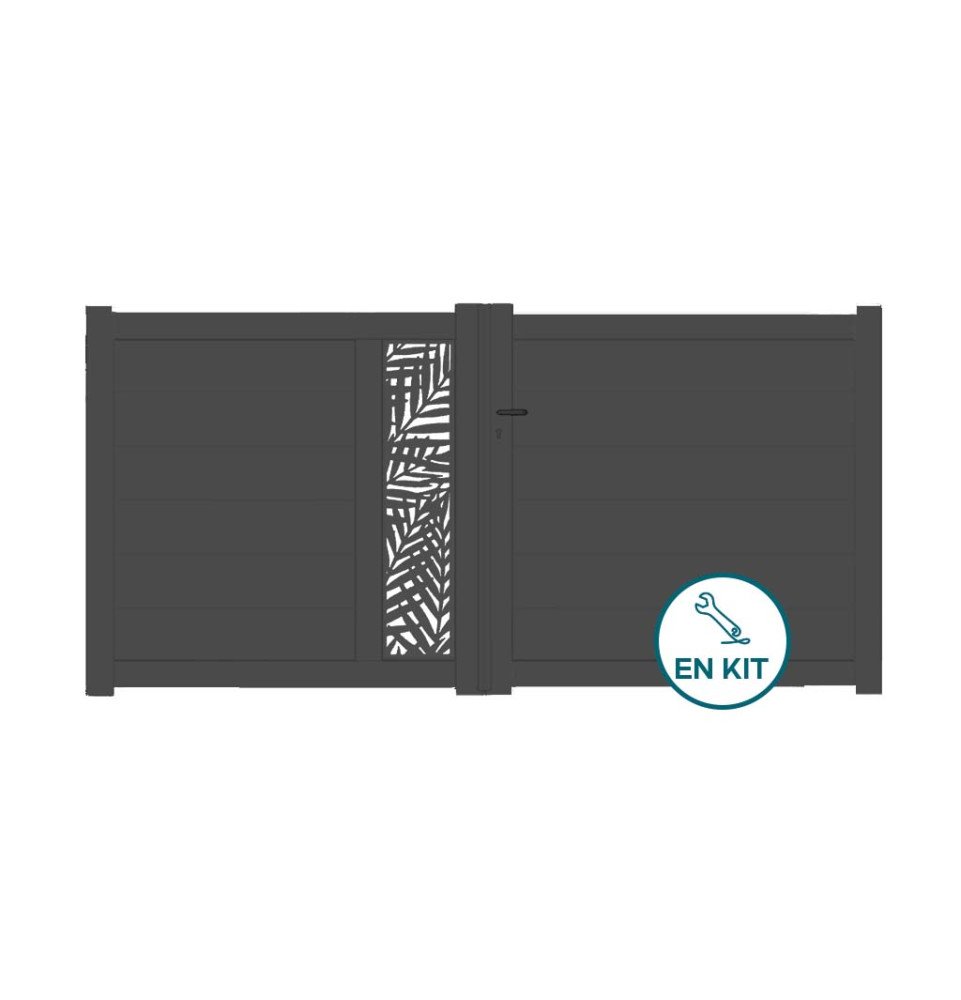
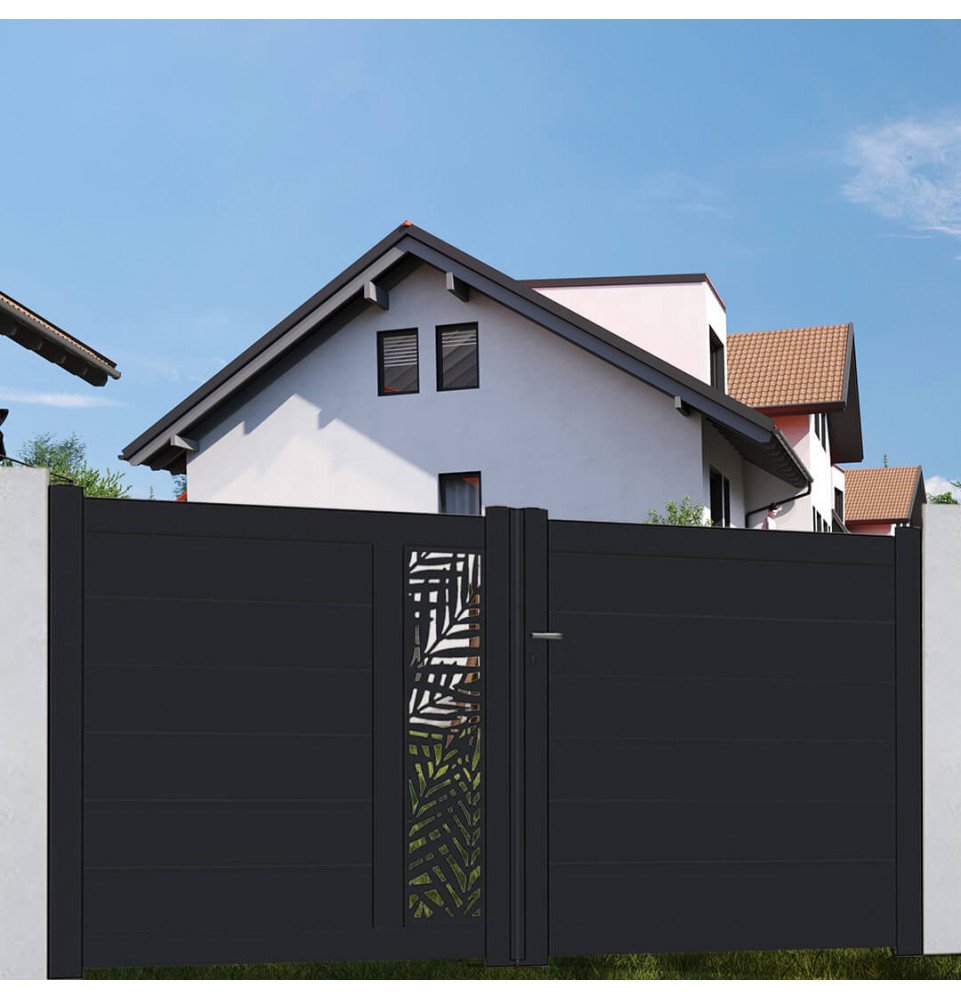
The PIO swing gate kit stands out for its laser-cut design on one of the panels. This feature helps shield your yard from unwanted views while still letting natural light filter through its attractive nature-inspired patterns.
With our gates, you can give your outdoor space an elegant, modern look that blends seamlessly with any landscape.
Guaranteed cheapest product on the web
Found it cheaper elsewhere? We'll refund the difference.

Made in
France & Europe

Flexible Payment Options


10-Year
Anti-Corrosion Warranty

Home delivery
or in-store pickup
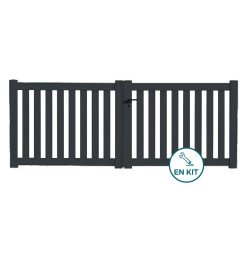
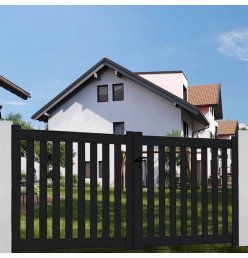
Choosing a PIO aluminum swing gate kit is a practical way to secure and define your property. The gate opens manually to either the left or right, giving you flexible access in and out of your yard.
Made from aluminum, this gate is both lightweight and durable. The PIO model is a popular choice for its timeless, contemporary style that enhances any outdoor area. Its sturdy construction ensures it will stand up to the elements for years to come.
Another benefit: the gate is delivered as a kit, which helps keep shipping and installation costs down. You get a quality aluminum gate at a competitive price, without sacrificing reliability. Step-by-step installation guides are available to make assembly straightforward.
Both gate panels open manually to the left or right, making the gate fully reversible. Installation is straightforward with our assembly instructions. For easier handling, we recommend installing with two people.
This gate is designed to fit between posts spaced:
– 3000 mm to 3050 mm for the 3000 mm model,
– 3500 mm to 3550 mm for the 3500 mm model.
Note: The listed height is the total installed height measured from the ground.
Green RAL 6005
Gray 7016
Black RAL 9005
White 9010
Brown 1247
Red RAL 3004
Data sheet
The swing aluminum gate kit offers both cost savings and convenience, thanks to its easy assembly that helps lower installation expenses. Aluminum is highly resistant to weather and requires minimal maintenance, while its lightweight design makes handling straightforward. This gate is a versatile choice that suits a variety of outdoor styles and can be upgraded with a gate opener later for added convenience.
Installing a swing aluminum gate kit involves several clear steps. Start by checking that all parts are included. Assemble the gate leaves following the detailed instructions provided. Next, attach the hinges to your posts, making sure to follow the placement measurements. Mount the gate leaves onto the hinges. Finally, adjust the alignment and fit the ground stop to ensure the gate opens and closes smoothly.
An aluminum gate requires minimal upkeep due to its natural resistance to rust. To keep it looking its best, just clean it occasionally with soapy water and a soft sponge. It's also a good idea to lubricate the hinges once a year, especially for motorized models, to ensure smooth operation.
Yes, you can add an automatic opener to a DIY aluminum swing gate kit using our compatible gate opener kits. Since aluminum is lightweight, articulated arm openers work especially well for this type of gate. Our gate kits are designed to accommodate future automation, with reinforcements already in place. You can choose from several types of openers depending on your needs and your driveway layout.
To trim a DIY aluminum gate kit, you'll need tools like a hacksaw or a circular saw fitted with a blade suitable for aluminum. First, remove the relevant parts by unscrewing the fasteners. Carefully mark your measurements before cutting. After cutting, be sure to deburr the edges to prevent injury and ensure a clean reassembly.
Get Districlos news, deals and inspiration in your inbox!