Any questions?


€1,149.67
 Menu
Menu


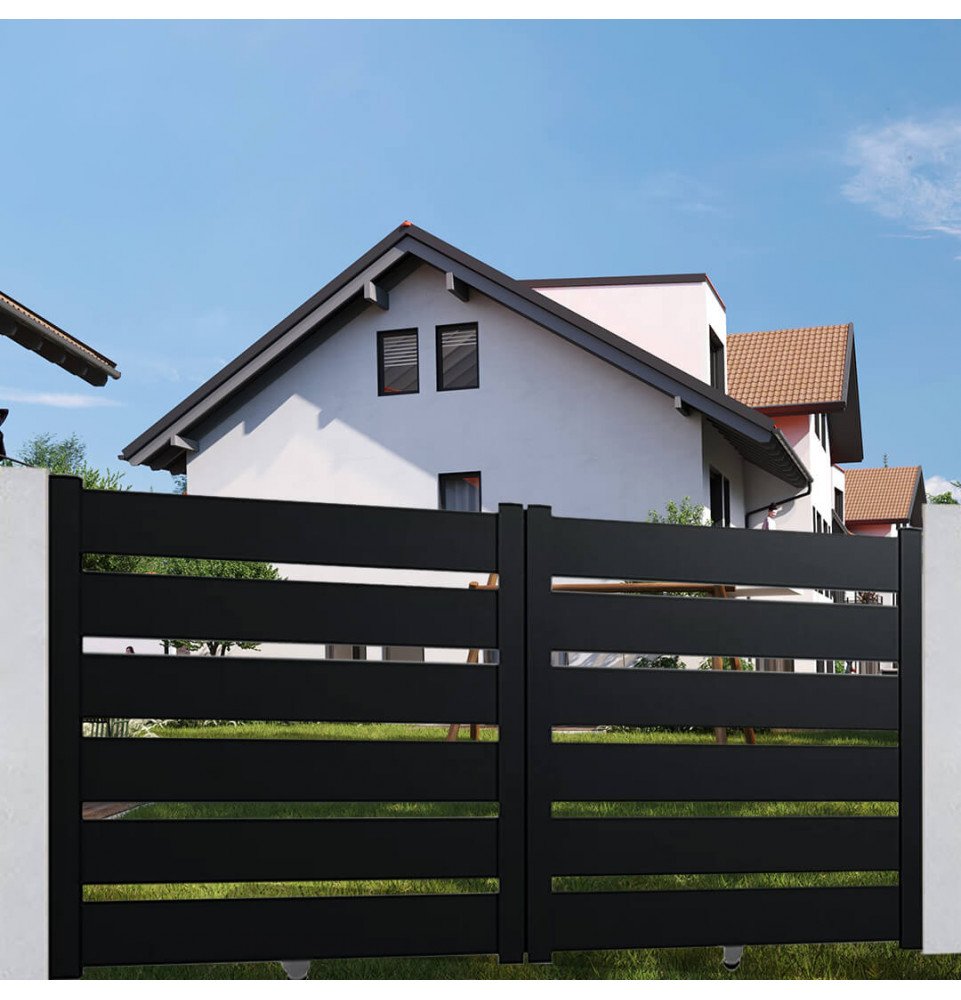

Thinking about installing a sliding gate to update your entrance, save space, or add security to your home? This guide walks you through how to measure for a sliding gate step by step, highlights common mistakes to avoid, and helps you select the best gate for your outdoor space.

Measure the inside distance between the two posts at three different heights:
Why three measurements? Posts aren’t always perfectly parallel—especially on older installations or if they’ve shifted over time.
Record the smallest of the three measurements—this is the usable width for your gate.
If the difference between measurements is more than 1 cm (about 3/8"), check the alignment of your posts before installing. For example: If you measure 3.03 m at the top, 3.01 m in the middle, and 3.02 m at the bottom, use 3.01 m as your reference width.
Next, measure the total available height from the finished ground up to the bottom of the post cap (or cover).
Make sure the rack and gate motor (if using automation) will fit without interfering with the gate height.

A sliding gate opens to the side, so you’ll need enough space along one side of the opening.
Clearance = gate width + at least 20 inches (50 cm).
This extra space is needed for the rack, motor (if automated), and end stops.
Before installing a sliding gate, make sure the ground is level and solid. If the surface isn’t flat, the gate may drag, jam, or wear out faster.
The base should be hard and free of holes or bumps—even small uneven spots can cause issues. If needed, pour a straight concrete pad (called a threshold) the full width of the opening.
If your driveway slopes, consider a cantilever (self-supporting) gate that doesn’t require a ground track, or adjust the concrete to create a level base. Always check with a laser or bubble level before installation to ensure everything is straight—this helps your gate glide smoothly and last longer.
Measure the width between posts at the top, middle, and bottom. Use the smallest value.
Measure the gate height from the ground to the post cap.
Allow for side clearance at least equal to the gate width plus 20 inches (50 cm).
Check that the ground is flat and stable. Pour a concrete threshold if needed.
If you’re unsure, contact a professional for an on-site measurement—this ensures a perfect fit.
A question about this product?
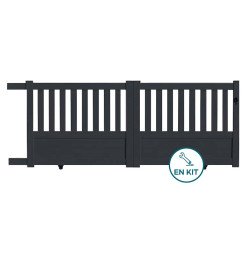
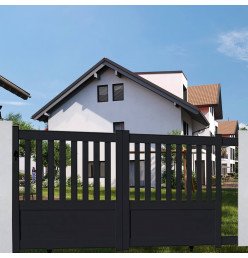
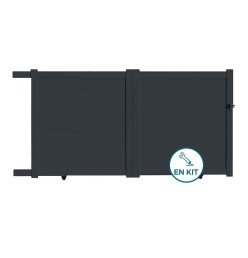
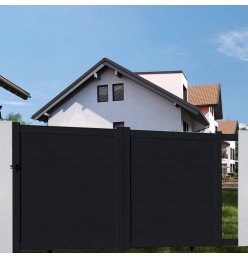
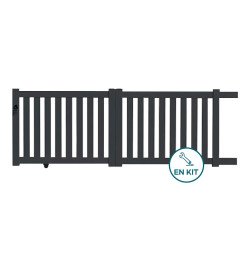
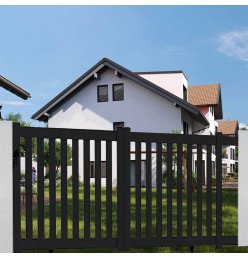
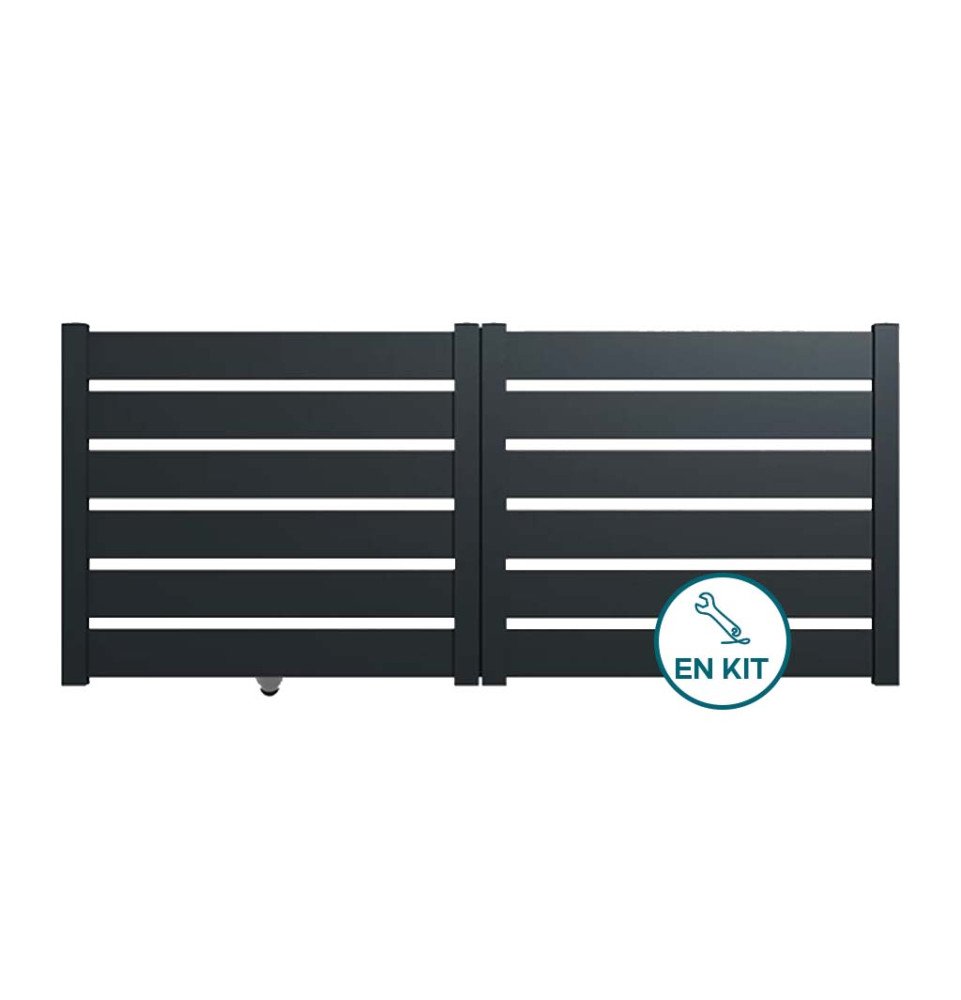
The NOA gate kit is a great choice for opening up your yard while maintaining a clear boundary. Its openwork design lets in natural light, creating a welcoming entrance without sacrificing privacy. With its clean lines and modern look, this gate blends easily with any outdoor style. Elegant, lightweight, and timeless, the NOA aluminum swing gate is a popular option for residential properties.
Guaranteed cheapest product on the web
Found it cheaper elsewhere? We'll refund the difference.

Made in
France & Europe

Flexible Payment Options


10-Year
Anti-Corrosion Warranty

Home delivery
or in-store pickup
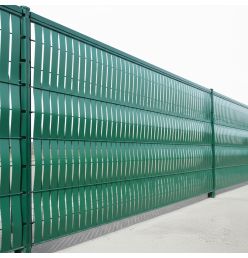
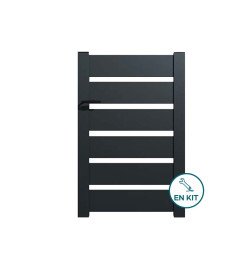
The NOA gate kit is designed to secure your property while providing an attractive entrance. Featuring two manually operated swing panels, it opens smoothly thanks to its lightweight aluminum construction. The openwork infill gives the NOA aluminum gate its distinctive style. Like any aluminum gate kit, it stands up well to the elements and requires virtually no maintenance. Enjoy a secure yard with a contemporary look.
This model is also delivered in kit form, so you can assemble it yourself. This approach helps reduce shipping and installation costs, making it a budget-friendly solution for anyone looking for an affordable sliding aluminum gate. Step-by-step assembly guides are available to help you through the installation process.
The NOA sliding aluminum gate can be configured to open left or right, allowing you to maximize space in your driveway.
It can be installed between posts spaced:
– 2950 mm to 3050 mm for the 3000 mm model,
– 3450 mm to 3550 mm for the 3500 mm model,
– 3950 mm to 4050 mm for the 4000 mm model.
Note: The listed height refers to the distance from the ground to the top of the gate once installed. Assembly is straightforward with our installation guides. For best results, we recommend having two people for the installation.
Green RAL 6005
Gray 7016
Black RAL 9005
White 9010
Brown 1247
Red RAL 3004
Data sheet
A gate kit is a gate supplied as separate parts for you to assemble yourself. It includes all the components you need: pre-drilled aluminum profiles, hardware, fasteners, and detailed instructions. This makes it straightforward to put together your swing or sliding gate, even if you're new to DIY projects.
Installing a sliding gate kit is straightforward when you follow our step-by-step instructions. Start by preparing a flat, level concrete foundation. Secure the guide rail onto this base. Next, assemble the posts, making sure they are plumb, and install the guide plate. Place the gate onto the rail, adjust for level using shims if needed, and attach all the accessories included in the kit.
Maintaining an aluminum gate is simple. Just wash it twice a year with warm soapy water using a soft sponge and a mild detergent. Rinse thoroughly with clean water and dry with a microfiber cloth. This routine helps keep your gate looking its best and preserves its natural weather resistance over time.

Get Districlos news, deals and inspiration in your inbox!