Any questions?


€1,149.67
 Menu
Menu



Thinking about installing a sliding gate to update your entrance, save space, or add security to your home? This guide walks you through how to measure for a sliding gate step by step, highlights common mistakes to avoid, and helps you select the best gate for your outdoor space.

Measure the inside distance between the two posts at three different heights:
Why three measurements? Posts may not be perfectly parallel—especially on older installations or if they've shifted over time.
Record the smallest of the three measurements: this is the usable width for your gate.
If the difference between measurements is more than 1 cm (about 3/8"), check the alignment of your posts before installing. Example: If you measure 3.03 m at the top, 3.01 m in the middle, and 3.02 m at the bottom, use 3.01 m as your reference width.
Next, measure the total height available from the finished ground up to the bottom of the post cap (or cover).
Make sure the rack and gate motor (if using automation) will fit without interfering with the gate's height.

A sliding gate opens to the side, so you'll need enough space on one side of the opening.
Clearance = gate width + at least 20 inches (50 cm).
This extra space is needed for the rack, motor (if automated), and end stops.
Before installing a sliding gate, make sure the ground is level and solid. If the surface is uneven, the gate may drag, jam, or wear out faster.
The ground should be firm and free of holes or bumps—even small variations can cause issues. If needed, pour a straight concrete pad (called a threshold) along the opening.
If your driveway slopes, consider a cantilever gate (which doesn't require a ground track) or adjust the concrete to create a level base. Always check with a laser or bubble level before installation to ensure everything is straight—this helps your gate glide smoothly and last longer.
Measure the width between posts at the top, middle, and bottom. Use the smallest value.
Measure the gate height from the ground to the post cap.
Allow for side clearance at least equal to the gate width plus 20 inches (50 cm).
Check that the ground is flat and stable. If not, install a level concrete threshold.
If you have any doubts, consult a professional for on-site measuring—it's the best way to ensure a perfect fit.
A question about this product?
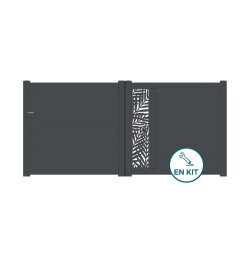
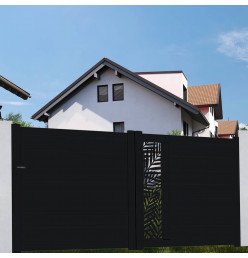
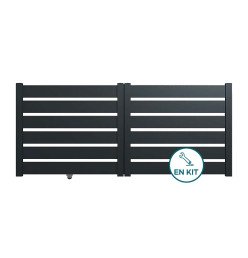
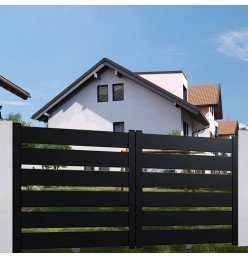
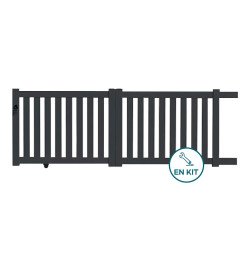
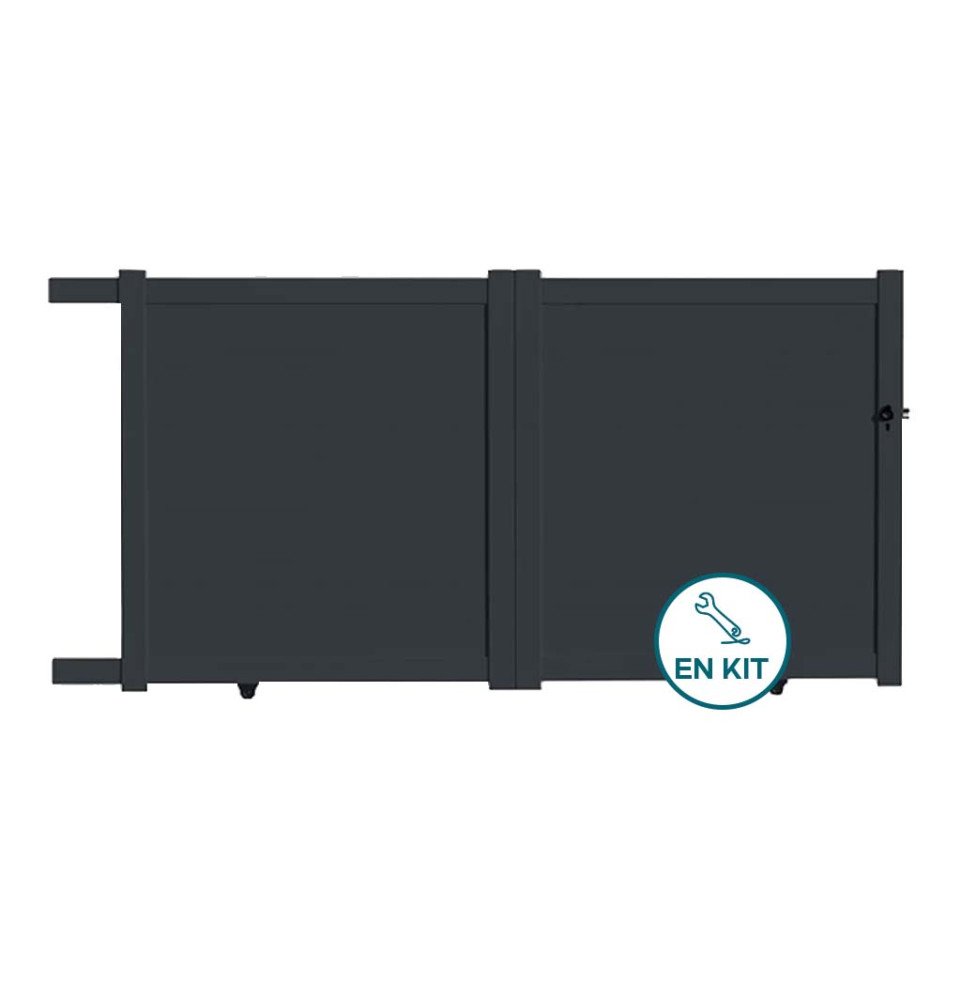
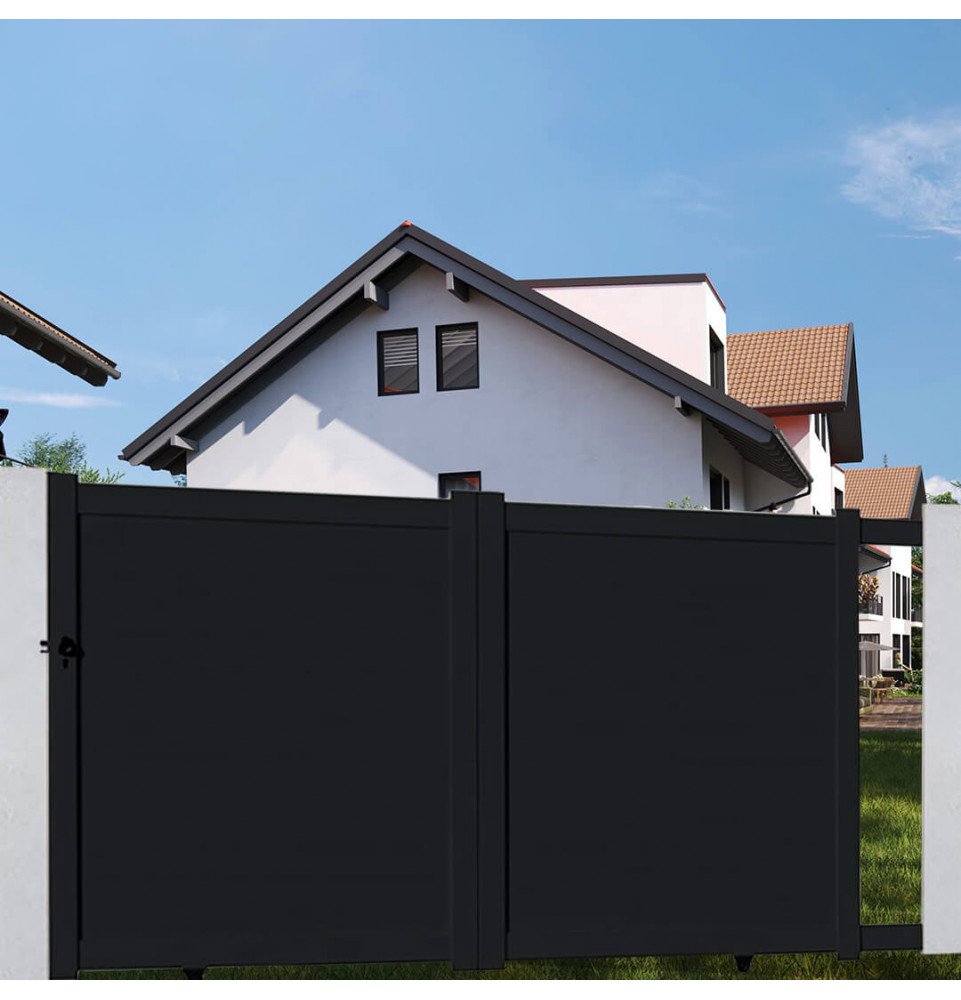
The ISY gate kit features a fully closed design, offering complete privacy for your yard. This solid infill style helps block unwanted views into your garden, providing a discreet and modern entryway. Available in anthracite gray, green, red, brown, black, or white, it blends seamlessly with any outdoor space.
Guaranteed cheapest product on the web
Found it cheaper elsewhere? We'll refund the difference.

Made in
France & Europe

Flexible Payment Options


10-Year
Anti-Corrosion Warranty

Home delivery
or in-store pickup
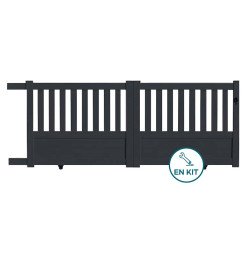
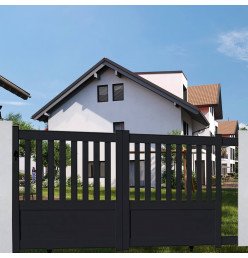
The ISY sliding aluminum gate kit is designed for manual operation—simply slide it left or right to suit your layout. Its lightweight aluminum construction makes it easy to handle while standing up to harsh weather conditions. Minimal maintenance is required, so you can enjoy your outdoor space with peace of mind.
Delivered as a DIY kit, the ISY gate helps reduce shipping and installation costs. With clear assembly instructions, installing your own aluminum sliding gate is straightforward—even for beginners. This model is a practical and timeless solution that fits a wide range of environments.
The ISY sliding aluminum gate can be installed to open left or right, depending on your setup. Its sliding design saves space in your driveway. It’s suitable for installation between posts spaced:
– 2950 mm to 3050 mm for the 3000 mm model,
– 3450 mm to 3550 mm for the 3500 mm model,
– 3950 mm to 4050 mm for the 4000 mm model.
Note: The listed height refers to the final installed height measured from the ground. For best results, we recommend two people for installation. Follow the included instructions for a straightforward setup.
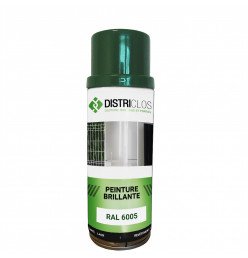
Green RAL 6005
Gray 7016
Black RAL 9005
White 9010
Brown 1247
Red RAL 3004
Data sheet
A sliding gate kit offers several key advantages: it's easy to assemble thanks to pre-cut components and clear instructions, and it's ideal for tight spaces since it doesn't swing out onto your property when opening. It's also compatible with gate openers for added convenience. The aluminum construction provides weather resistance and requires very little maintenance, while its lightweight design makes handling and installation straightforward.
To install a sliding gate kit, start by preparing a level, solid concrete base to support the ground track. Secure the guide rail with stainless steel screws, then place the gate onto the rollers, making sure it’s properly aligned. Next, attach the guide plate to the post. Finish by installing the accessories, such as the lock and end stop, carefully following the instructions provided to ensure smooth and safe operation.
Automating a sliding gate starts with selecting a motor kit that matches your gate's weight. Mount the motor base plate onto the concrete pad, making sure it's parallel to the track. Next, attach the rack to the bottom rail of the gate, connect the power supply according to safety standards, and set the limit switches to define the automatic opening and closing positions.
Choosing the right sliding gate depends mainly on your property's layout and available space. For sloped driveways, a cantilever gate is recommended since it works well with uneven ground and doesn't require a ground track. If your entrance is short on depth, a standard sliding gate is a good option as it keeps the driveway clear. Make sure you have enough space along the fence line for the gate to slide open—this should be at least the width of your opening plus an extra 20 inches for clearance.
Get Districlos news, deals and inspiration in your inbox!