 Any questions?
-
-
Menu
-
-
-
-
-
-
-
-
-
-
-
-
-
-
Miscellaneous
-
-
-
-
-
-
-
 Configure your fence
-
-



Measuring guide
How to Measure for Your Fence Project
Before ordering your fence, it's essential to take accurate measurements. The measuring process is the same whether you're installing on a base plate or setting posts directly in the ground.
Don't worry if you're new to this—just follow these straightforward steps.
1. Determine the Total Length

Example perimeter measurement: 20+10+20+10 = 60 m

Example for an L-shaped lot: add the length of each side
2. Choose the Height
 H: Measure the height of your fence, considering the portion above ground.
Your needs:
24"–48": best for marking property lines
60"–72": a good balance for home security and privacy
80" and above: ideal for maximum privacy.
+8–12" for posts set on a wall
+12–20" for posts set directly in the ground
(depends on your soil type)
 Check your local regulations for permitted fence heights before choosing.
Local regulations:
Every city or town may have zoning rules that set a maximum fence height. In some areas, you may be limited to 72" or required to follow specific design guidelines (especially in subdivisions or historic districts). Always check with your local building department before ordering to avoid issues.

3. Decide If You Need a Base (Sill or Curb)
A base (concrete curb or slab) can help to:
- • Prevent grass from growing under the fence
- • Hold back soil if your yard isn't level (up to 30% of the base height)
- • Add strength and stability
- • Deter animals from entering your yard
- • Enhance the overall look
If your ground is flat and even, a base is optional.
There are two main types of bases: concrete or powder-coated steel.

4. Decide If You Need a Base Plate
A base plate is used to anchor your posts to a concrete surface. On a wall or concrete slab, it secures both your post and your fence panel.
Note: If you plan to add privacy slats to a rigid fence, setting posts in concrete is recommended. Using a base plate is not advised, as the added weight and wind load can damage your fence.
5. Consider the Slope of Your Yard
Stepped installation (by sections): Each section is installed level, but each is set higher or lower than the previous one.
To plan this, measure the length of each level section (horizontal segment).
You can add a base for each step, either by burying it or cutting it to fit.
Alternatively, cut your panels to size or use chain link fencing, which is more flexible for slopes.

If you have questions, contact our customer service at 0422531034.
6. Calculate the Number of Posts Needed

The number of posts depends on your total fence length and the type of fence. Each fence panel is installed between two posts.
A standard panel is 8' 2" long.
Example: For 82' of fencing with 8' 2" panels: 82 ÷ 8.2 = 10 panels
You'll need 11 posts (1 starter post + 1 post between each panel)
Our posts are designed for corners—no need for extra corner posts! If you're adding a base, double the number of posts required.
Each rigid mesh panel measures 8 feet 2 inches in length.
For unique layouts or specific lengths—such as 20 feet or along a curve—you can cut a panel to fit. Rigid mesh panels can be trimmed easily with the right tool (angle grinder or bolt cutters) for a custom fit.
Summary
Measure the total perimeter.
Choose your fence height (based on your needs and local codes).
Decide if you need a base or a base plate.
Check if your yard is sloped or flat.
Count your corners to determine the right number of posts.
With these details, you'll be ready to select the fence that fits your property best.
A question about this product?
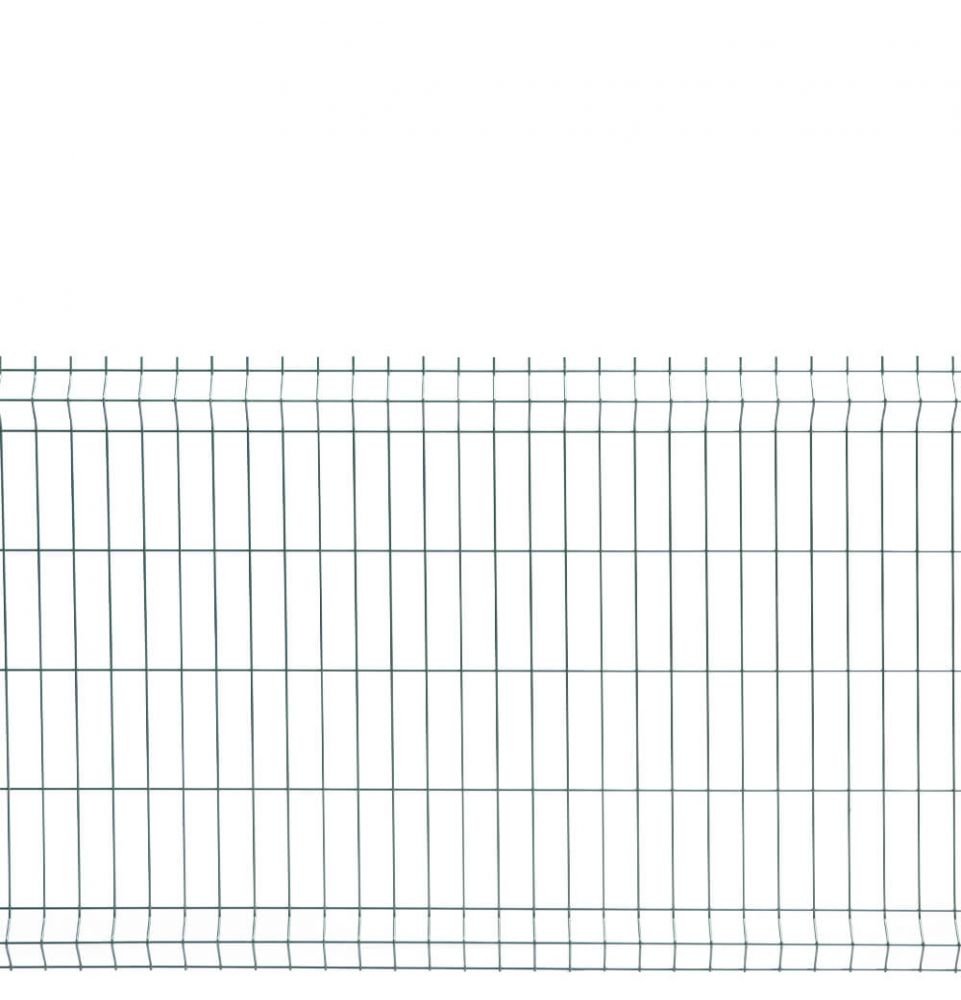
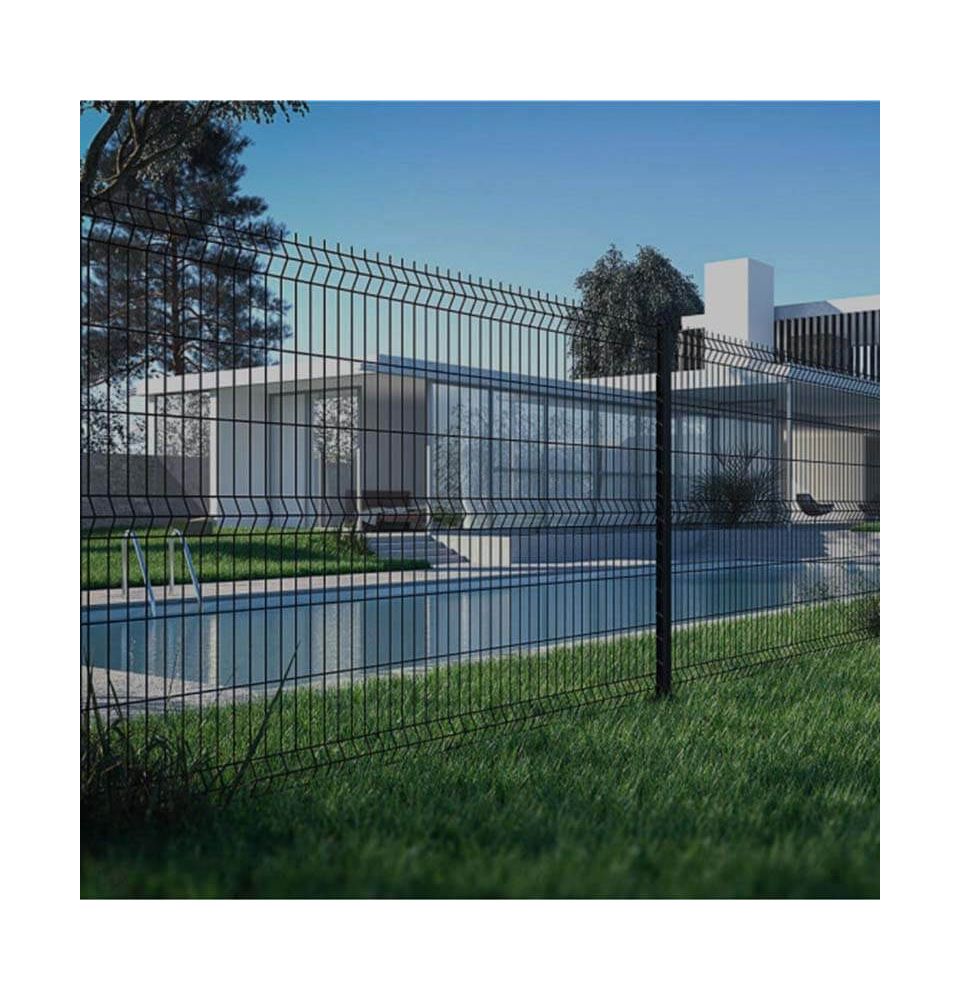
Rigid Wire Mesh Fence Panel
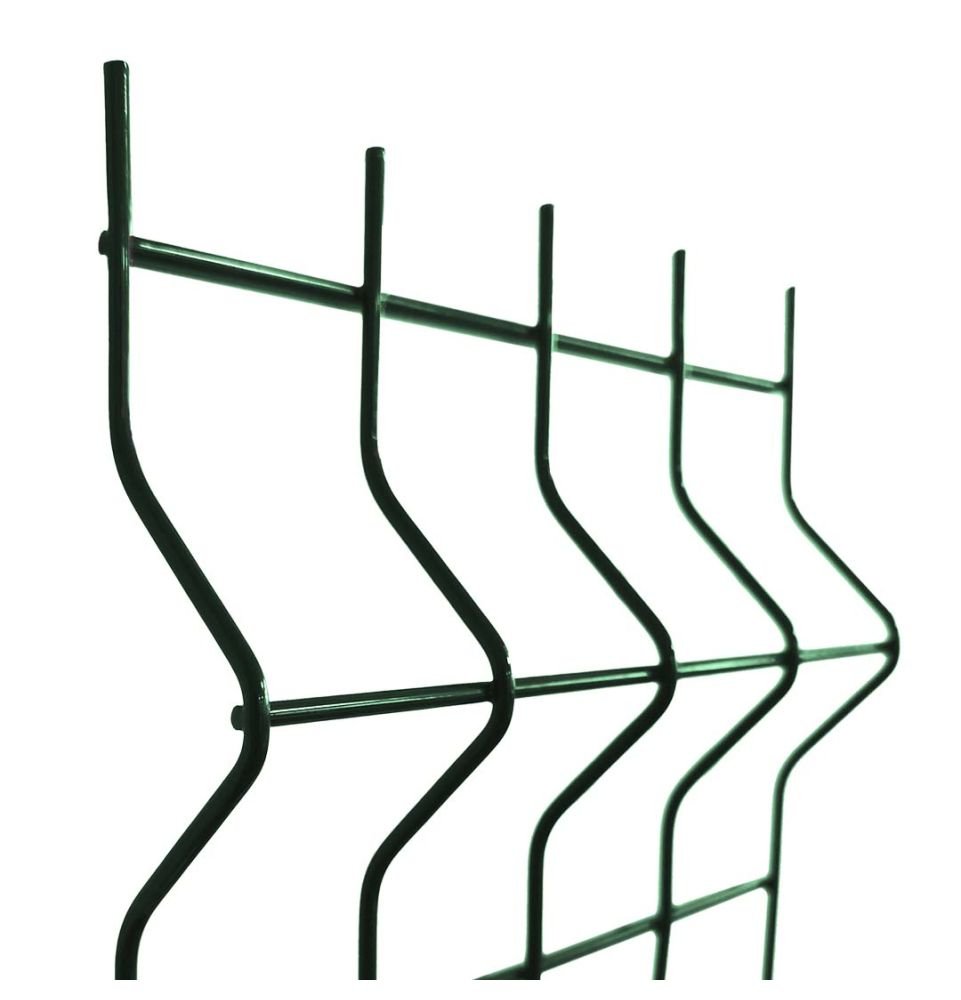
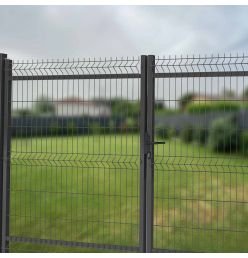
Our rigid mesh fence panels feature a support-free mounting system for quick and easy installation. The anti-corrosion coating ensures long-lasting durability and adapts to any outdoor setting.
Select your preferred color, panel height, and mesh type to suit your project.
Guaranteed cheapest product on the web
Found it cheaper elsewhere? We'll refund the difference.

Made in
France & Europe

Flexible Payment Options


10-Year
Anti-Corrosion Warranty

Home delivery
or in-store pickup
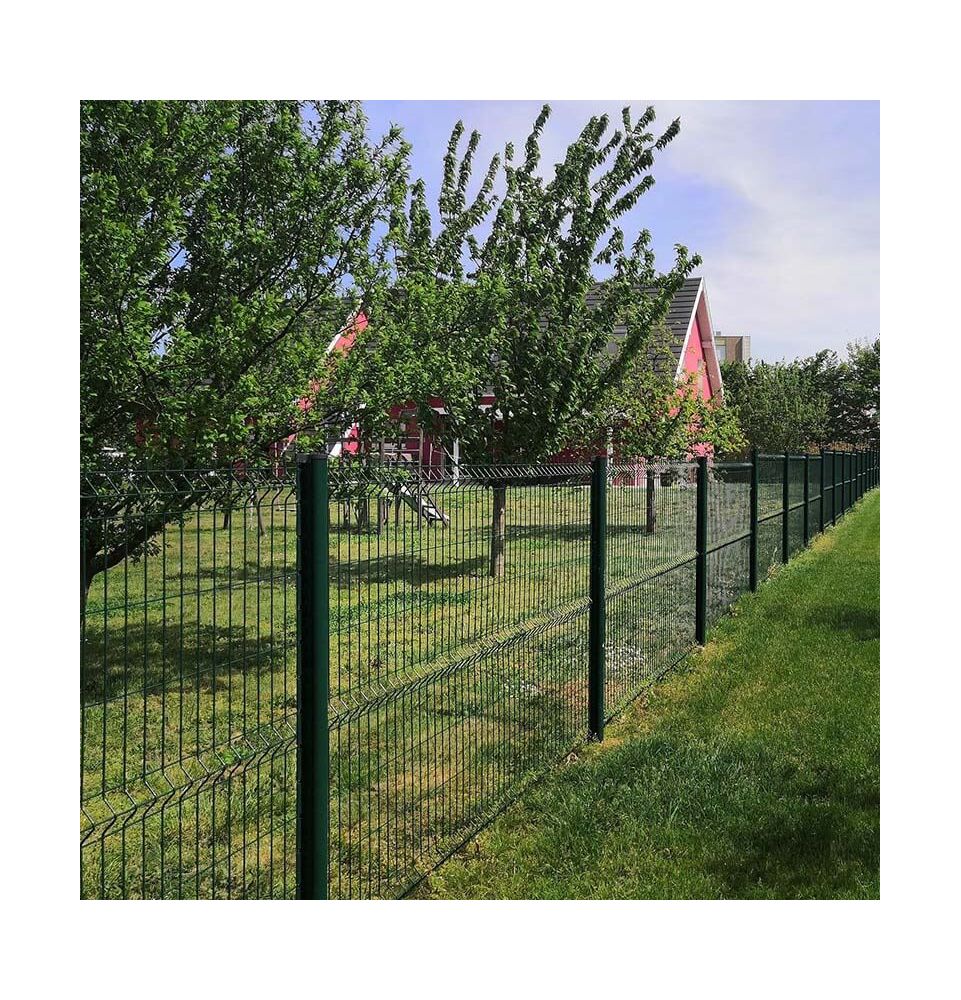
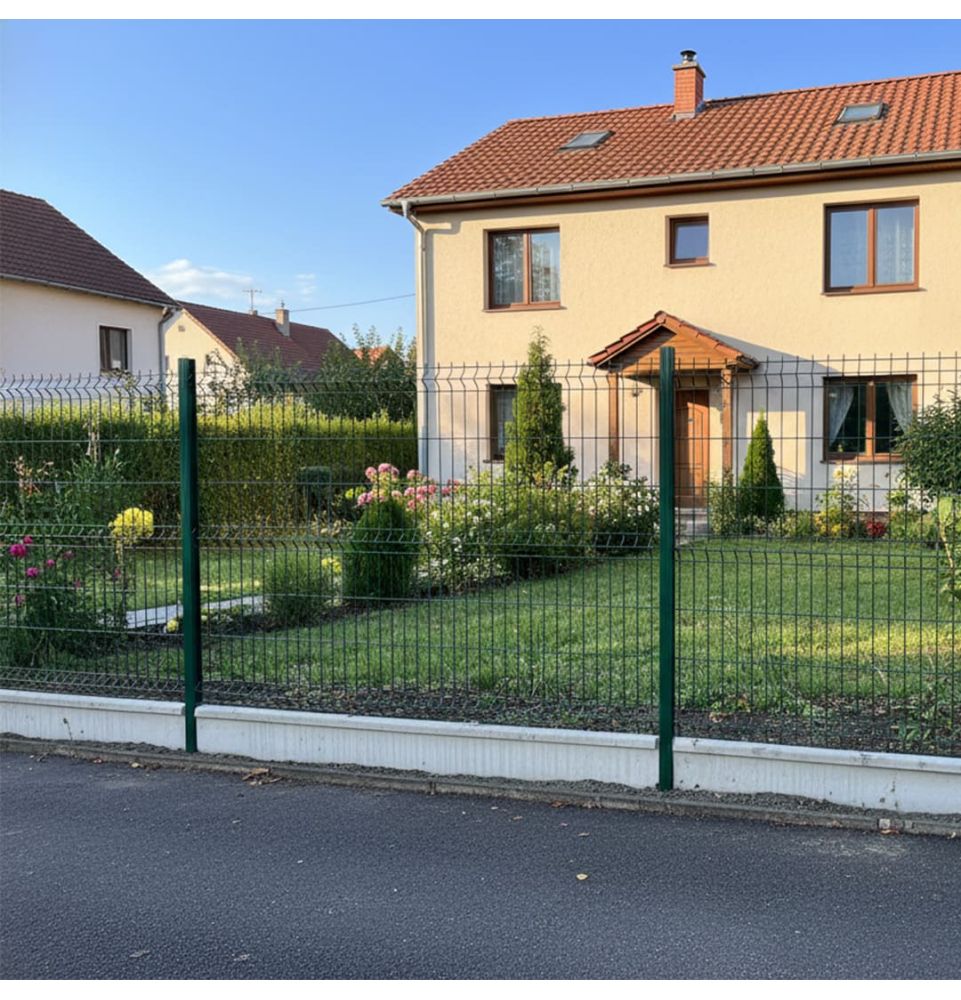
Enhance the security of your outdoor spaces with professional-grade rigid mesh fencing. These fence panels clearly mark your property lines and are simple to install using dedicated fence posts.
Buying rigid fence panels individually lets you order the exact number you need for a customized fence. Installation is straightforward—choose between setting posts in concrete, mounting on base plates, or adding concrete kick plates for extra stability.
If your yard faces harsh weather or wildlife like wild boar, consider the Pro+ panels made from galvanized steel for added strength.
Each rigid mesh panel measures 2.5 meters in length. Select the fence height that best fits your needs and preferences.
Benefits of rigid mesh panels
- Long lifespan: 10-year warranty
- Easy to install: panels simply clip onto Tempo posts
- Sturdy construction: anti-corrosion coating and welded mesh
Additional information
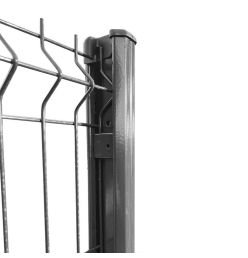
Welded mesh panel, 2.5 meters long, with horizontal bends for added rigidity.
Designed for use with Tempo posts.
Defensive spikes can be positioned at the top or bottom, depending on panel orientation.
Coated with PROTECLINE anti-corrosion system for lasting protection.
How to install a rigid mesh panel?
Whether you're installing on a wall, on a slope, or setting posts in concrete, our rigid mesh panels are easy to put up with the help of our video installation guides. Several installation methods are available to match your terrain. The most common approach is to set posts in concrete for a secure hold. For extra strength, add concrete kick plates. Alternatively, mount your fence on a wall using dedicated base plates.
Black and white colors are available exclusively for Pro+ panels.
Available colours
Green RAL 6005
Gray 7016
Data sheet
- Thickness
- 100 microns
- Length
- 2m50
- Mesh
- 200x55
- Vertical Wire Diameter
- 4 ou 5 mm
- Horizontal Wire Diameter
- 5 mm
- Application
- Residential & Commercial
- Assembly type
- Soudé
- Origin
- France
- Warranty
- 10 years
- Product Line
- PRO ou PRO+
The main difference is the wire thickness: PRO panels use 5mm horizontal wires and 4mm vertical wires, while PRO+ panels feature 5mm wires both horizontally and vertically. This reinforced design makes PRO+ panels sturdier, which is especially useful for gardens exposed to harsh weather or wildlife such as wild boar.
The best option depends on your soil type and the layout of your land. For flat, stable ground, we recommend setting posts directly in the soil using our Tempo notched posts. If your property has rocky ground or a concrete slab, surface-mount posts with base plates are more suitable. For sloped areas, you'll need adaptable kits with specific accessories to handle elevation changes. Our team is here to help you select the right components for your project.
Set the fence posts in place and secure them with concrete, making sure they are properly aligned and plumb. Slide the concrete base panels into the grooves of the slotted posts, with the cap facing outward. Next, attach the rigid mesh panels above the base using the notch system. Continue this process section by section, checking levels as you go, until your fence is fully installed.
The proper orientation of your rigid fence panel is key to ensuring its maximum strength against outdoor stresses. Always position the horizontal folds so they face outward, with the curved side toward the street and the concave side facing your property.
For panels with defensive spikes, make sure the spikes are always pointing up. This not only helps deter intruders but also increases the effective height of your fence while maintaining a clean look.
Our ready-to-install kits from Districlos come with everything you need to set up your fence in the right direction. The specially designed notching system makes installation straightforward and ensures a professional, long-lasting result.
The removal process depends on the type of post used in your installation. For posts with clips, use adjustable pliers to gently remove each fixing clip without putting pressure on the mesh wires.
If you have Tempo posts with notches, use flat-nose pliers to carefully open each notch by hand, then lift the panel upwards to release it. Take your time to avoid damaging any components.
Work methodically, section by section, starting from one end of the fence. Store all clips and accessories in a container to keep them organized. Having a second person to help makes handling the rigid panels much easier, as they can be quite heavy once detached from the posts.
Rigid fence panels are available in heights ranging from 0.63 m up to over 2 m, depending on your specific needs. For basic property boundaries, 4 ft (about 1.2 m) is usually sufficient. If you're looking for added security, consider at least 6 ft (about 1.8 m). For gardens with pets, choose a height that suits the size of your animals. Our Districlos experts can help you select the right height based on your project and local regulations.
There are several effective ways to add privacy to your rigid mesh fence. PVC privacy slats are the most popular option—they slide between the wires and are available in kits with all the necessary installation accessories. Privacy screens made from fabric can be quickly attached with clips or ties, providing instant coverage at a low cost. Natural reed or bamboo panels offer a more decorative, authentic look, while wooden slats create a modern and warm appearance.
4 mm wire thickness is ideal for standard residential use and marking property boundaries. If your area is exposed to harsh weather or you need extra strength, consider 5 mm wires for added durability. At Districlos, our PRO+ panels use 5 mm wires throughout, providing maximum strength against outdoor conditions and intrusion attempts.
If your rigid mesh fence is damaged, the repair method will depend on the type and extent of the issue. Start by carefully assessing the damage before proceeding.
For minor bends, you can usually straighten the panel by applying steady, controlled pressure by hand. Light scratches can be covered with an anti-corrosion spray paint that matches the original RAL color of your fence.
If a panel is badly damaged, it's best to replace it. Remove any damaged fasteners and fit the new panel into place, making sure it lines up correctly with the neighboring sections to keep a uniform look.
We offer a full range of replacement parts for your fence. If you need help or a custom quote, our team is here to assist you.
In the same category
Our customers also bought
Get Districlos news, deals and inspiration in your inbox!
